Keylogger
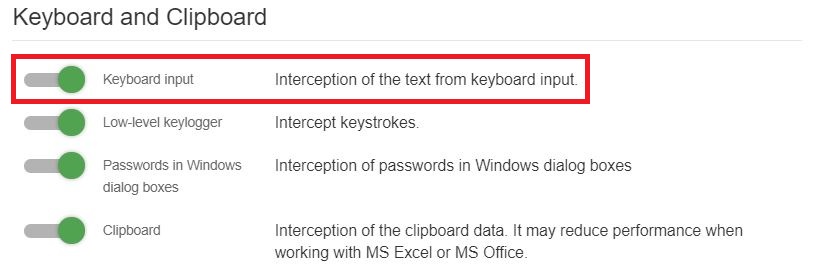
To make sure that the necessary interception module is enabled you should open the corresponding configuration and enable the “Keylogger” module in the “Keyboard and Clipboard” section, then click “Save”.
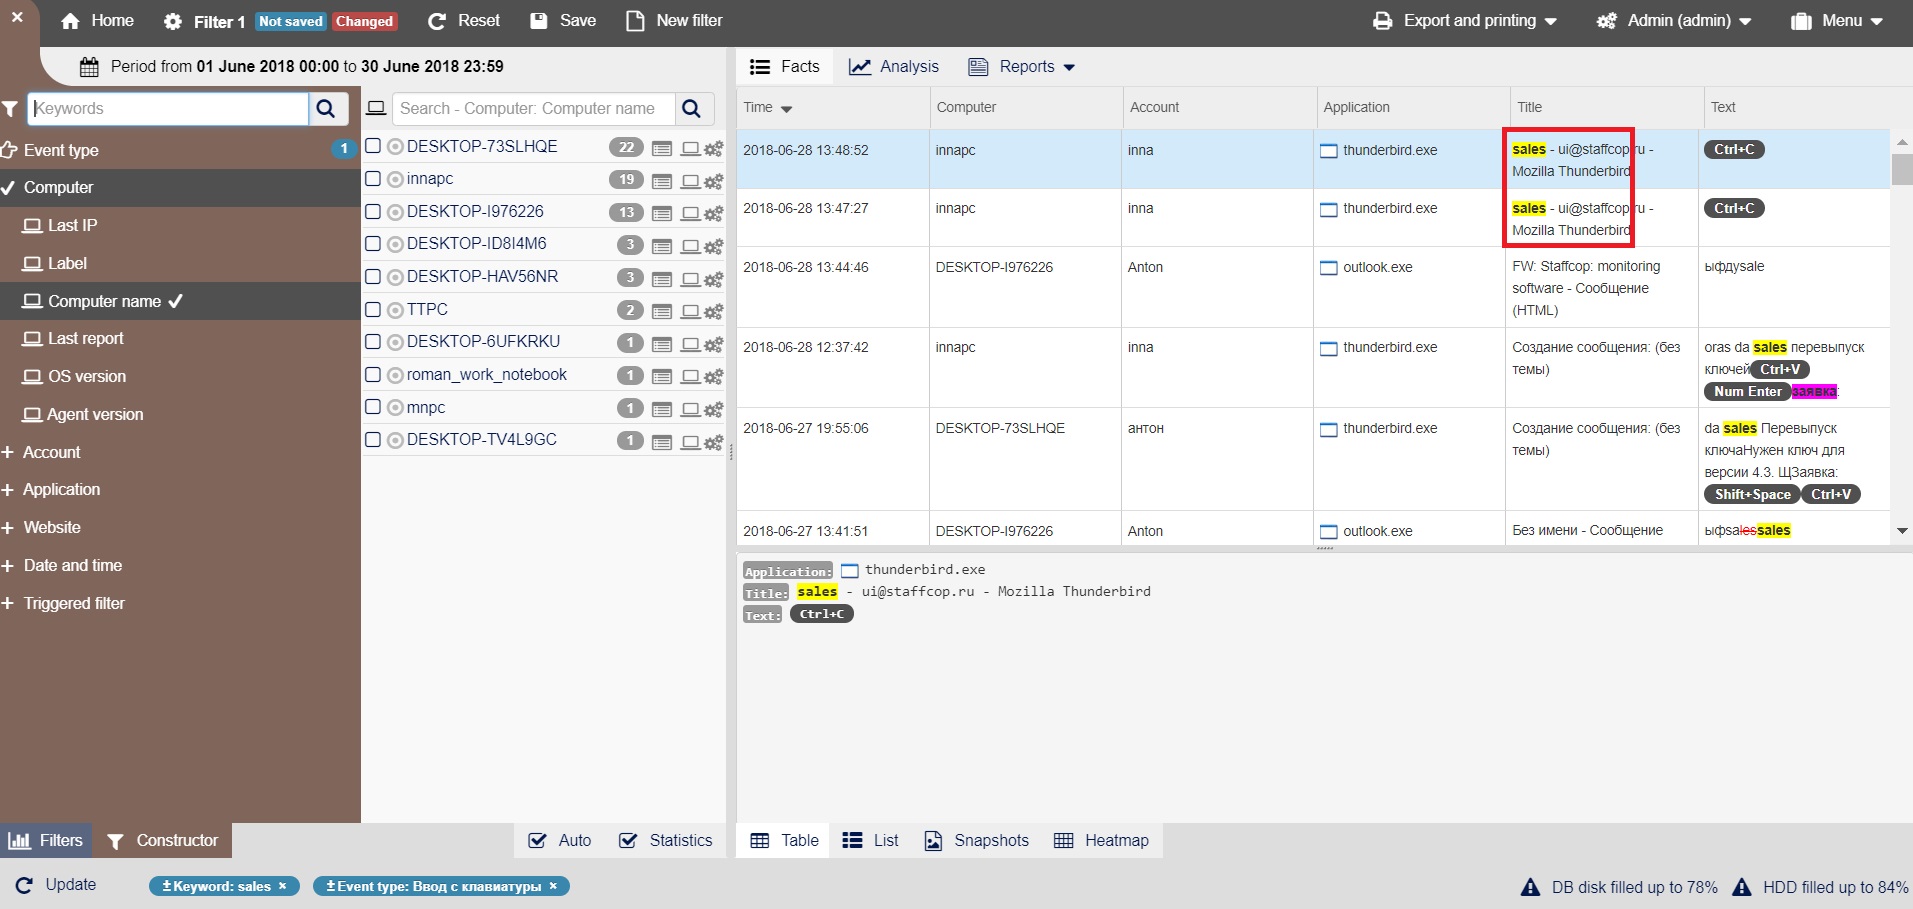
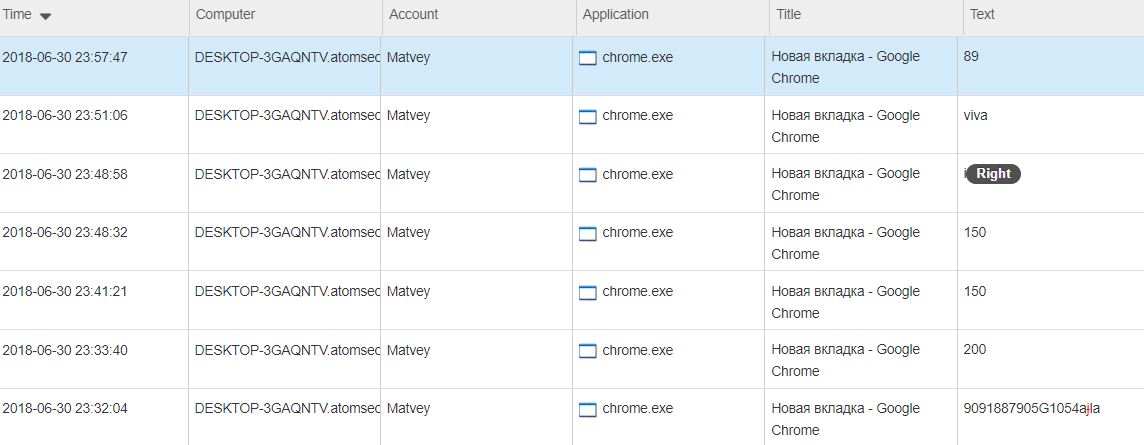
After a while, the agent will receive and apply the new configuration, after which in the “Facts” → “Table” you can see the interception facts containing the text.
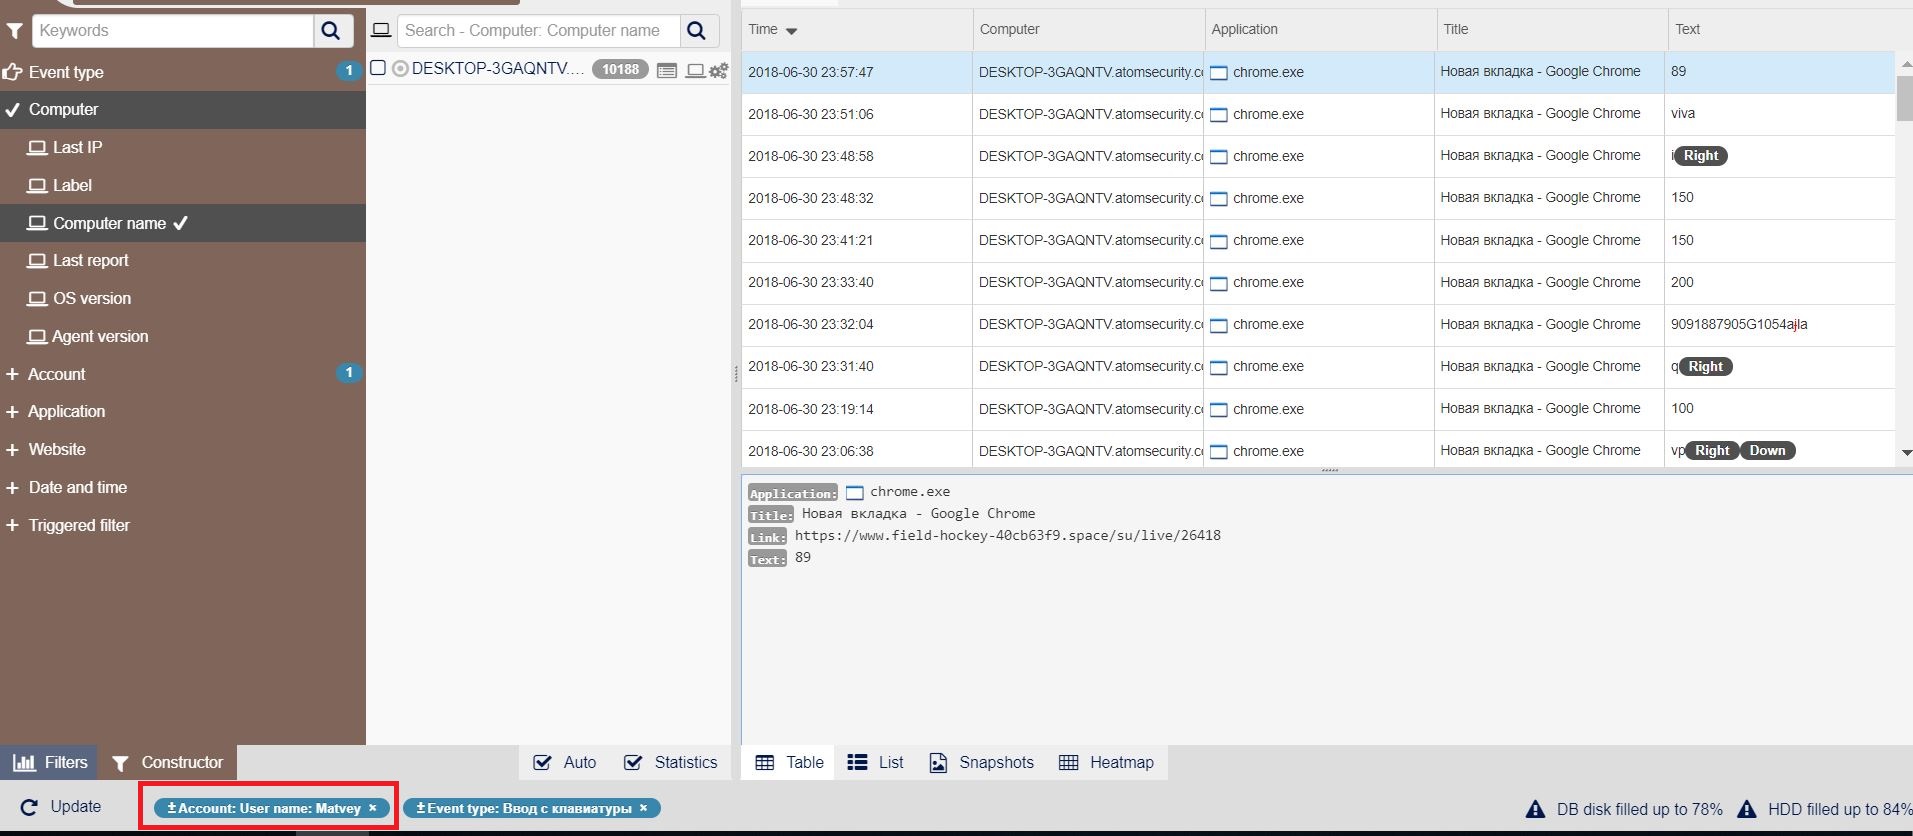
To filter the facts by user, you should click the user name in the “User” column. After that, a blue icon with the username will be added below.
You can search for keywords in the intercepted text. To do this, enter the keyword Cintract in the “Search/Keywords” field:
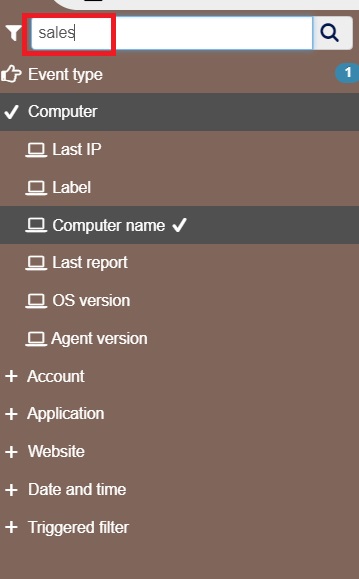
Then press Enter and get the filtered facts: