Install Windows-agent using Active Directory
- Agent installation with the AD group policy
- Agent update with the AD group policy
- Agent removal with the AD group policy
Agent installation with the AD group policy
Download agent installer from the web-interface of StaffCop:
Admin -> Control panel
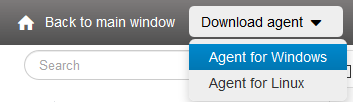
Copy the agent installer downloaded from the server to the domain controller agent_ru-5.8.2465-[192.168.1.134].msi.
Place this file to C:sc directory on your computer and open network sharing to open ame_of_the_domain_controllersc$
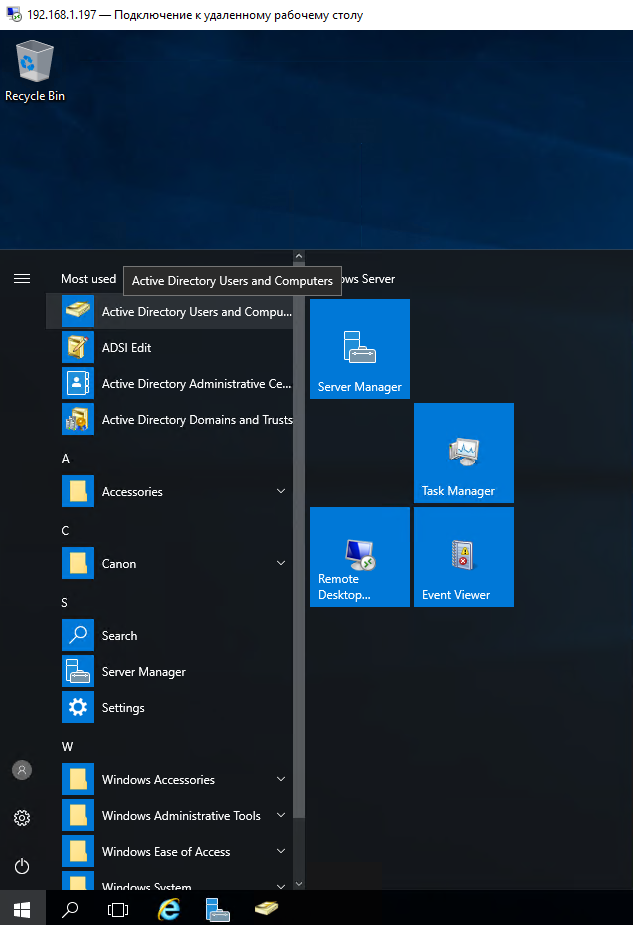
Open Control Panel (or Start menu in Windows 2003/2008) and choose AdministrationActive Directory — users and computers.
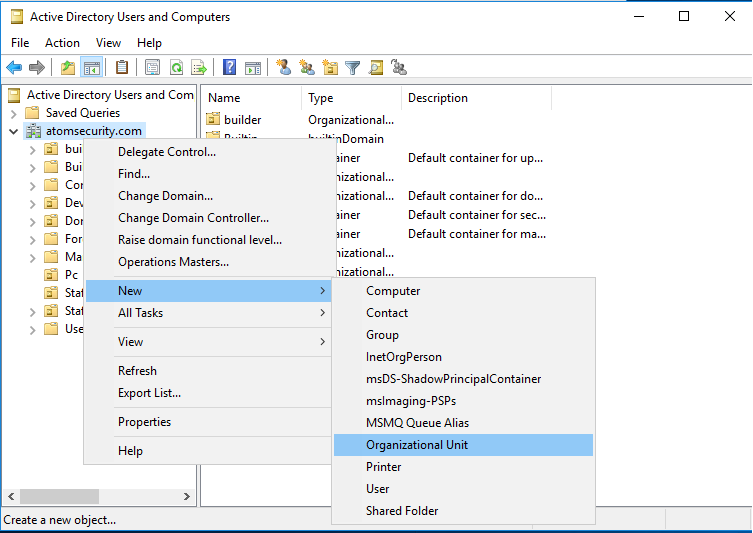
In the domain with the computers meant for agents installation, create a new Organizational Unit and name it StaffCop, for example.
To do that choose CreateOU in the context menu. Specify the name of a new OU in the open dialog and click “OK”.
Include the computers meant for StaffCop agents installation in this OU.
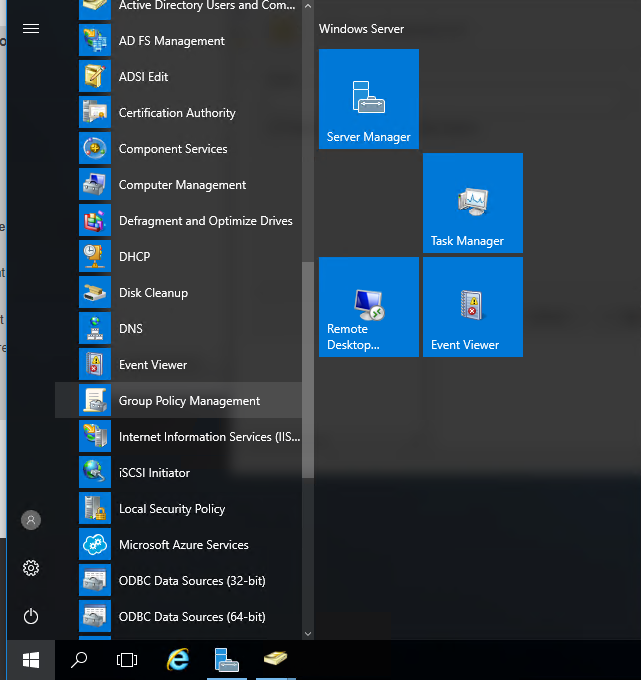
Open the window of editing the group policies.
To do that click Start/Administration/Managing the group policy.
Specify the group policy for the StaffCop OU you have just created.
To do that open the context menu of the StaffCop OU, choose item “Create” a GPO object on this domain and bind it…
Specify the name of the new GPO object in the appeared window and click OK
Choose Change in the context menu of the new GPO.

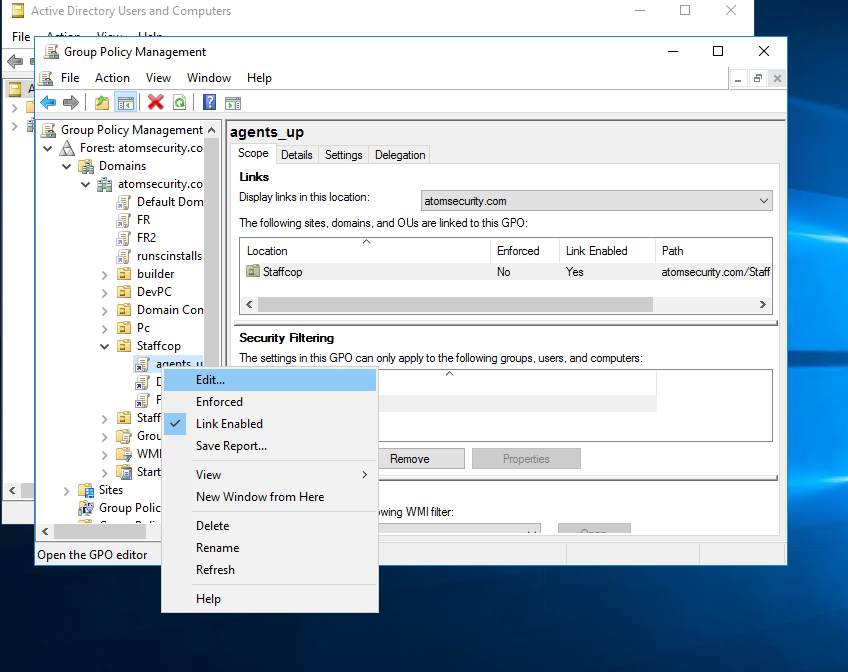
You will see the window of GPO editor where you should input the settings for the GPO you created before.
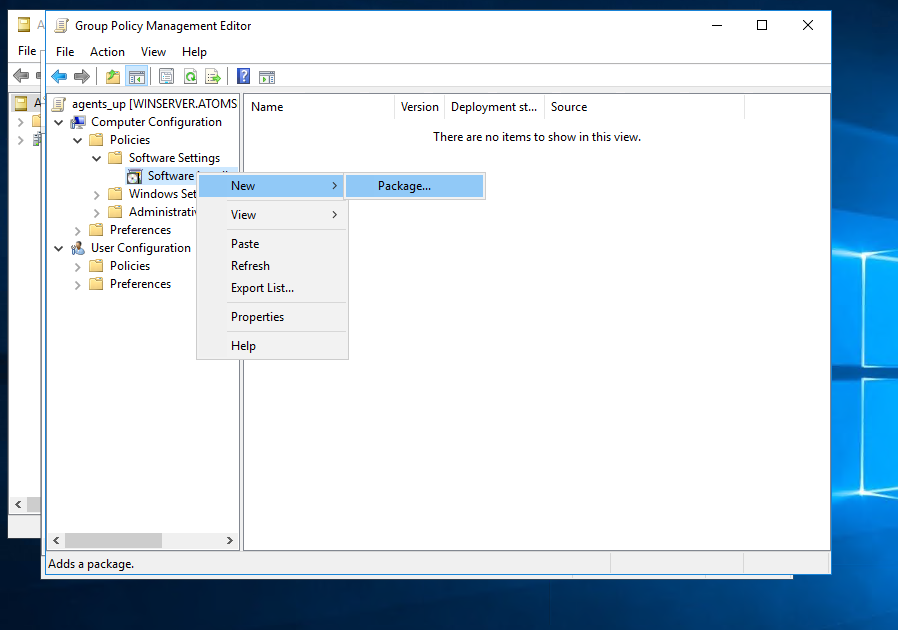
To do that choose item **PC configuration/Policies/Programs*configuration/Programs installation.
Choose New/Package in the context menu of the item Software installation.
Then specify the installation path for an Agent.
To do that input the address of the network shared resource.
The path to the directory with the package must be in the format of the network addresses:
\ \имя_контроллера_домена\sc\agent_ru-5.8.2465-[192.168.1.134].msi.
The window “Deploy program” will open. Choose the option Assigned. Click OK.
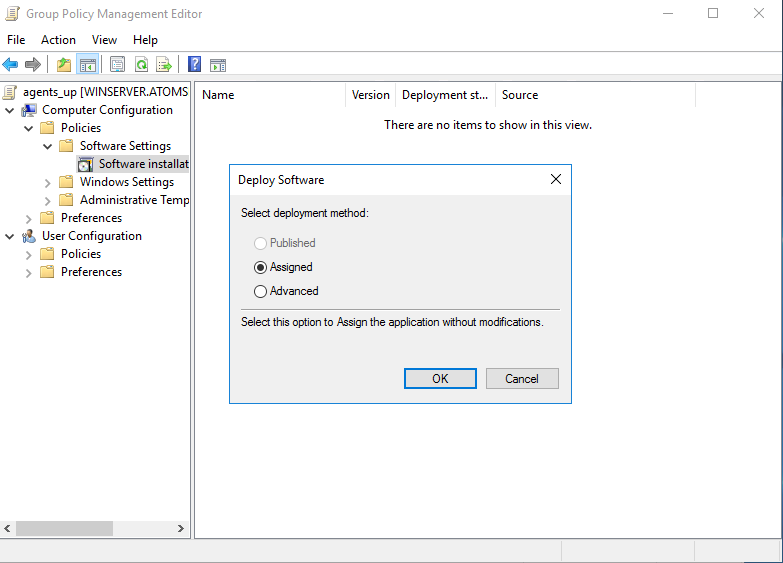
Agents will be installed on the chosen computers in the moment they are first registered in the domain.
The forced applying of GPO may be required, for that you should invoke the forced GPO upgrade in the Windows command line:
gpupdate /force
And accept to reboot the PC.
Agent update with the AD group policy
Similar to agent installation, add the agent installer you want to update to, in this window:
Open the properties of the version of the agent and go to the “Updates” tab, click “Add” to choose the application meant for update by the agent.
Choose the older version of the agent on the open window (if the new version is located in the same GPO - choose it from this GPO, if it’s located in some other GPO - specify it using “Browse” dialog). Below you can choose if you want to remove the previous version or install the new version over it. We recommend to remove the previous version in order not to inherit the troubles from old versions to new ones.

After that, in the GPO you will see the old packages with the lock icon and new ones with the green arrow icon.
Note
If you have installed the agent using GPO you must update them only using GPO
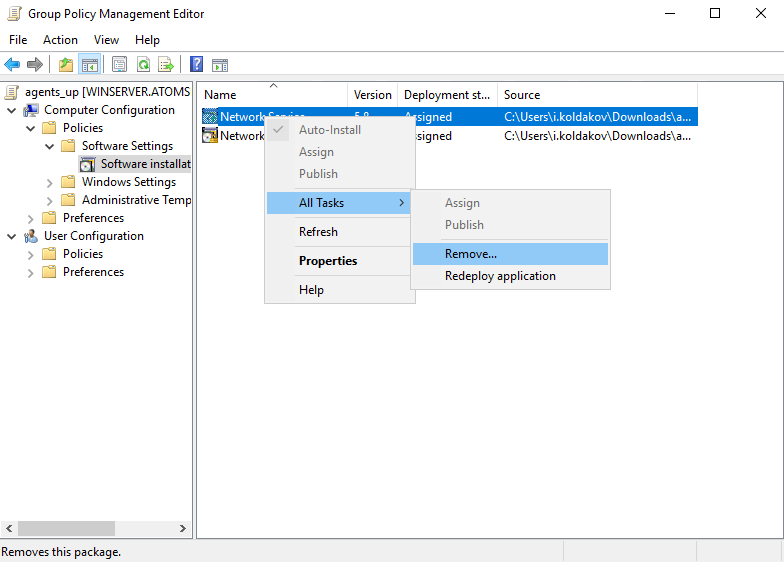
Agent removal with the AD group policy
To remove a Staffcop agent from workstations use the tool of GPO managing and find the GPO where you configured the installation of the Staffcop agent.
Click the GPO with the right mouse button and choose Change in the dropped menu:
PC configuration/Policies/Programs configuration/Programs installation
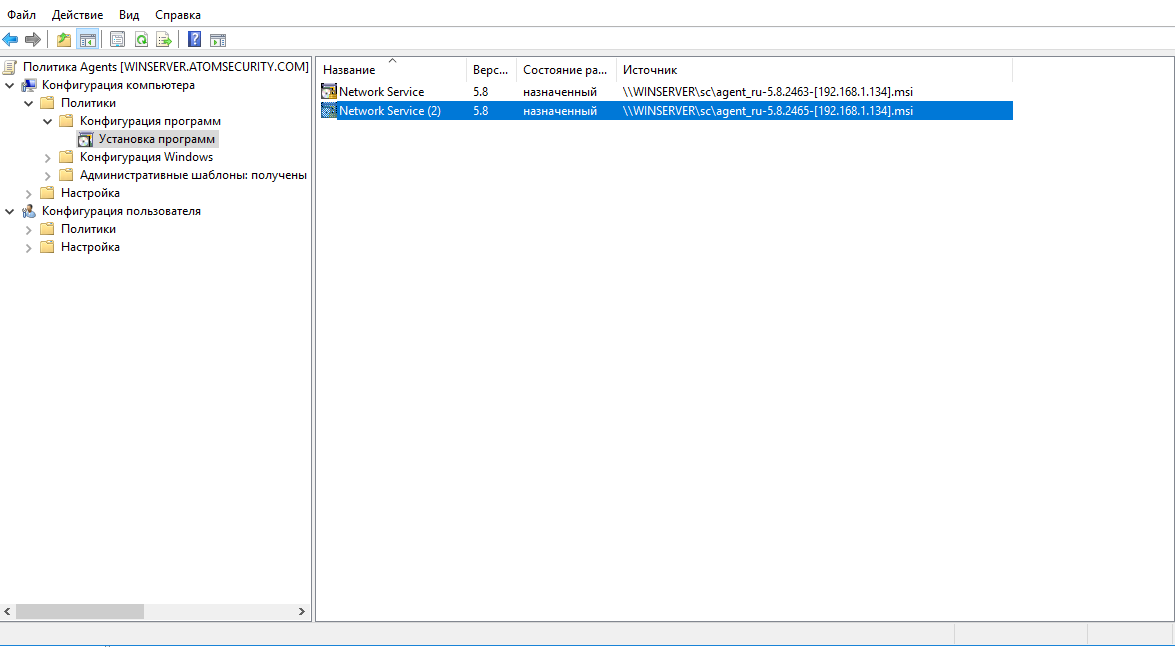
Remove the previously added agent, in the list of assigned Staffcop agents to be installed on the workstations.
The packege assigned for installation may be named «Network Service» there.

Then close all the windows of this GPO nad reboot the client’s workstation or invoke the forced GPO ipgrade in the command line:
gpupdate /force
And accept to reboot the user’s workstation