Working schedule
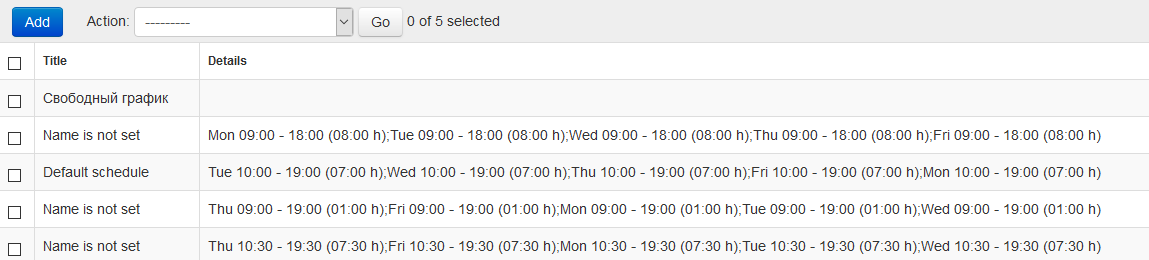
Working schedule is used for setting the week working schedule. The specified schedule will be used for building reports: “Time tracking”, “Lateness report”, “Summary report”, etc. You can create several variants of the schedule for the working week. For example, when working in several shifts, there is a need to create a working schedule for each shift.
Add new schedule
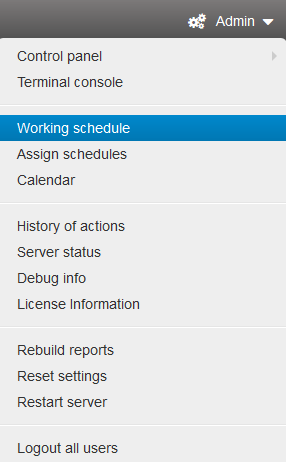
To add a schedule, click the “Add” button.
You will see the page with the interface for creating a working schedule.
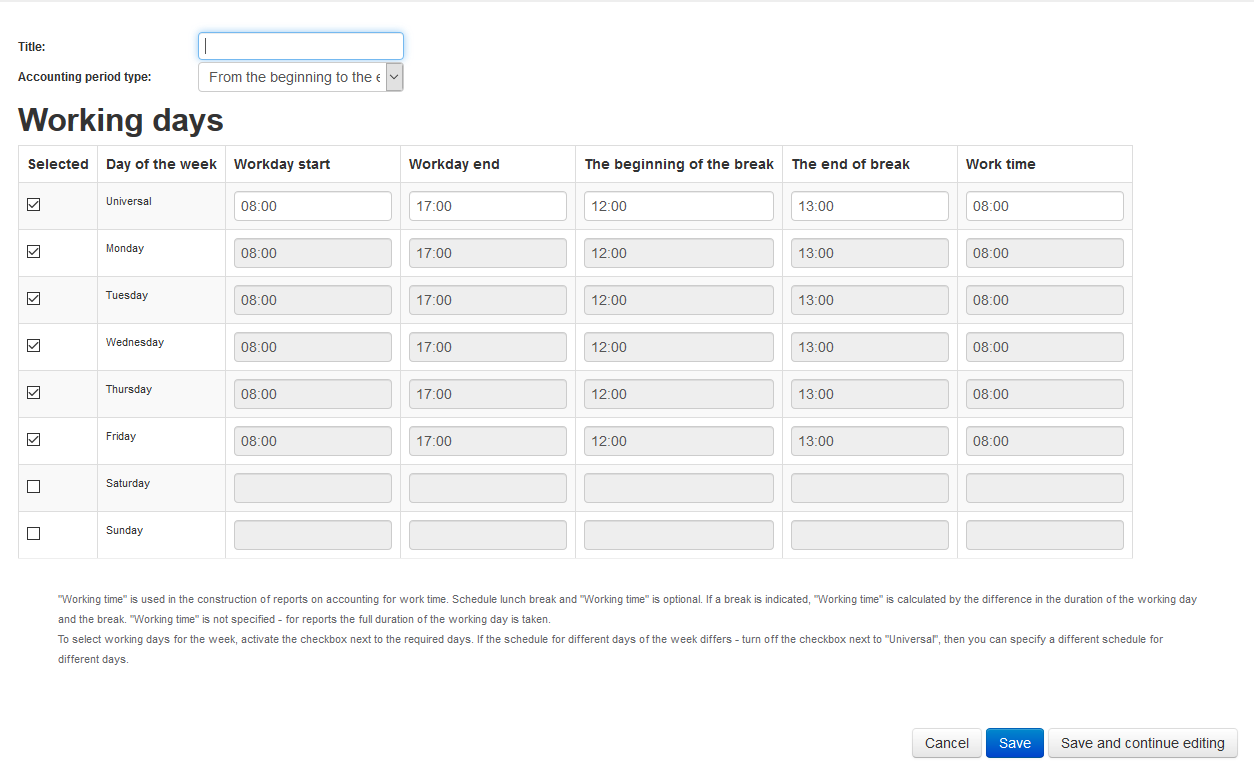
Title - the name of the work schedule.
Accounting period type - select the desired format for “Time Tracking” report.
Universal - setting a single schedule for the whole week from Monday to Friday. If the schedule differs on different days of the week, then to edit certain days, you need to unmark the checkbox of the “Universal”.
Workday start - the time when the working day begins.
Workday end - the time when the working day ends. It should not be earlier than Workday start time.
The beginning of the break - the beginning of the lunch break. Within this time period, for building Time tracking reports, any activity is ignored, which means that this time will not be taken into consideration when calculating productivity, total ctivity time, e.t.c
The end of the break - the end of the lunch break. After the end of the break, productivity calculation continues. The break should take place during the working day.
Working time - the time used for building productivity reports , where the actual time is compared to the planned one. By default, if the “Working time” is not specified, the duration of the working day minus the break (if any) is considered the “Working time”. The planned time should not exceed the duration of the working day.
To save the work schedule, click the “Save” button. To cancel the changes, click the “Cancel” button.
To delete the created schedule open it and click the “Delete” button.