Final steps
Change password in Linux
After installation you should start the virtual machine and input login and password.
If it was imported from image - login: support and password: support
Then you should change password for the user “support” Create a new, complicated password.
Warning
Don’t use passwords like “1234”, “qwerty” and don’t leave the password as it was!
Note
To create a new complicated password and not forget it afterwards, use a password keeper. For example - http://keepas.info/
Change password by opening the command line and running:
passwd
Then input your new password that was generated by the program.
System upgrade
In case with the virtual image you have the already configured system with all the packages required for the StaffCop Server. Nevertheless, from the time that passed since the moment of the creation of the image, the developers could release updates with extension of the functionality of the system, some minor bugs fixed, or new updates on security created. That’s why it’s recommended to upgrade the system just after the installation. This is made by running two consequent commands united into a single command:
sudo apt-get update && sudo apt-get upgrade
Upgrade can take some time, and the more time has passed from the image creation the more time the upgrade will take. In average, it takes a couple of minutes. Upgrade requires access to the internet.
When the upgrade is finished you may run the commands:
sudo apt-get autoclean && sudo apt-get autoremove
It will clean the system from the obscene packages and release some space in the system
Get the IP-address of the server
There is a few commands to get the IP-address of your server:
ifconfig
will output the list of all the network interfaces in use:
ifconfig | grep inet | grep -v inet6 | grep -v 127.0.0.1 | cut -d: -f2 | awk '{printf $1"\n"}'
reduces the output of the command making it more informative
If your system doesn’t have ifconfing script pre-installed (yes, that’s possible), try running:
ip a | grep -v inet6 | grep -i inet
to output the IP-address of your server.
Open admin interface
Input the IP-address that you got in the address bar of your browser and see the dialog of setting the password
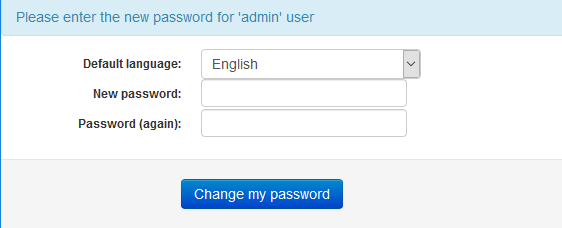
Pay attention that for accessing the web-interface a separate pair login-password is used, not support/support.
The login here - admin, and the password you set at the first launch of the system. Choose a complicated password.
Activate the license key
Trial version activation:
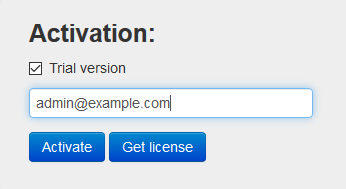
When the first time you get into the administrative panel after StaffCop Server installation you will be able to activate the trial version letting your monitors 5 agents within 15 days.
For that you must check the box Trial version and input your registration e-mail, the click the Activate button.
If the server has access to the internet it will pass through online activation, a green bar will appear, and within a minute the administrative panel of StaffCop Enterprise opens.
Online activation with a registration key:
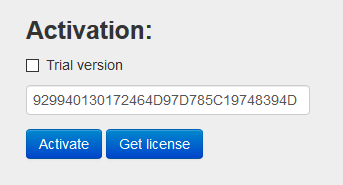
For activation insert the activation key into the form Activation and click the Activate button.
If your server has access to the internet it will pass through online activation and within a minute the administrative panel of StaffCop Enterprise will open automatically.
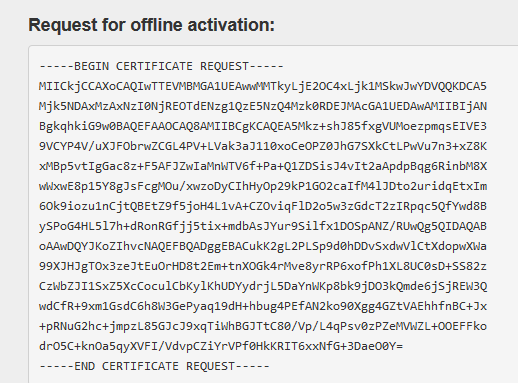
Offline activation:
For offline activation insert the activation key into the form Activation and click the Offline activation button.
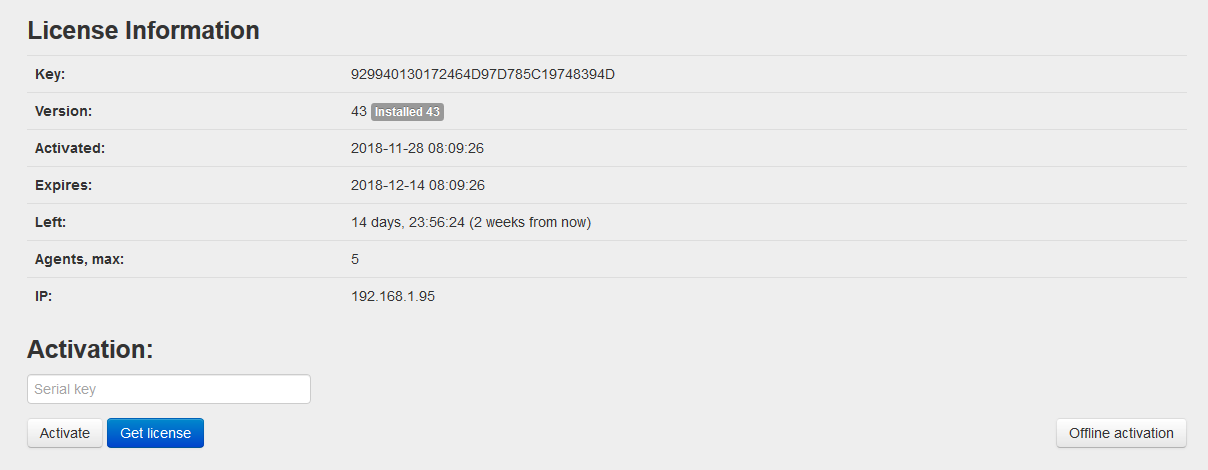
After that the program will request a certificate to be copied and sent to a manager of StaffCop Enterprise.
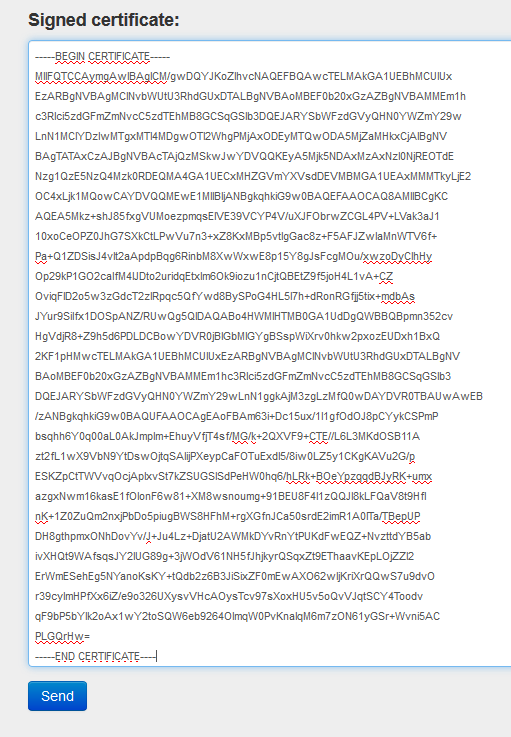
The manager will reply with the signed certificate to be input in the form Signed certificate, then click the Send button, and within a minute the administrative panel of Staffcop Enterprise opens.
Then you may proceed to the next step - agents installation.