Import virtual machine appliance
Import of an already configured imaged is preferable in case you don’t have any experience in installing Linux systems or you want to minimize installation time. Virtualbox Preliminary steps
For import you require:
- Installed and configured host OS.
- Installed Virtualbox.
- Virtual machine image as OVA file, created specifically for Virtualbox.
Or you can use the script for automatic installation that will perform all the required actions.
Start installation
- Launch Virtualbox by clicking the shortcut, using the “Start” menu or any other way.
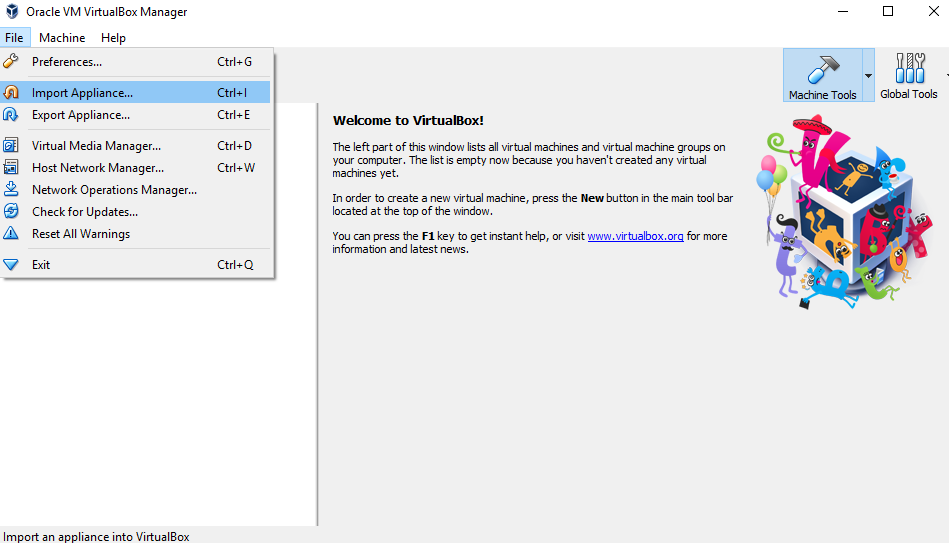
- Click File -> Import Appliance.
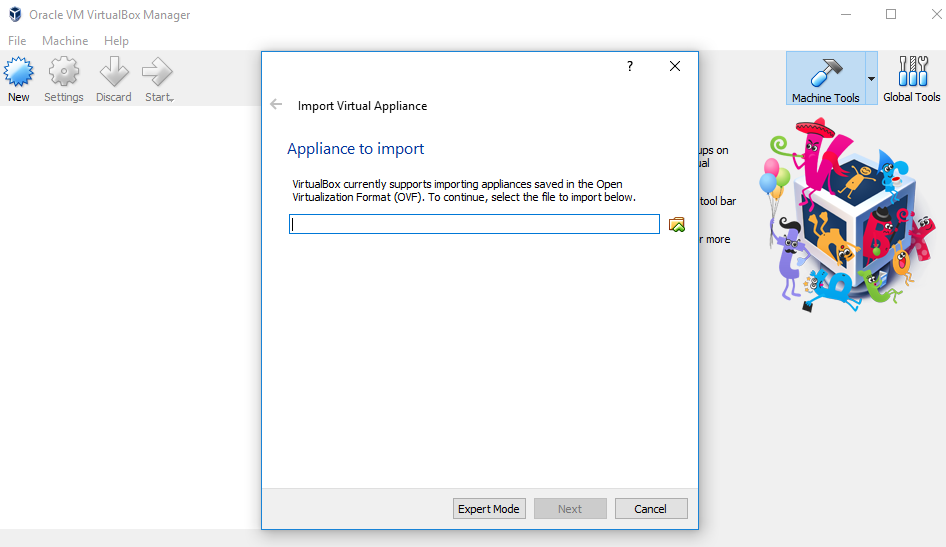
- Choose the file, click Open, Next
- In case of necessity, change import parameters, although it’s not necessary in the majority of cases.
- Click Import.
- Wait for a while, ipmort takes abot 2-5 minutes.
- Find the computer in the main list of machines - it can be found by its name, and it’s placed last on the list.
- Choose by clicking, click start.
- Proceed to the post-installation actions.
VmWare
For import you require:
- A computer with installed and configured OS.
- Installed VMWare Workstation Player
- Virtual appliance as OVA.
File import
Launch Vmware by clicking the shortcut, using the “Start” menu or any other way.
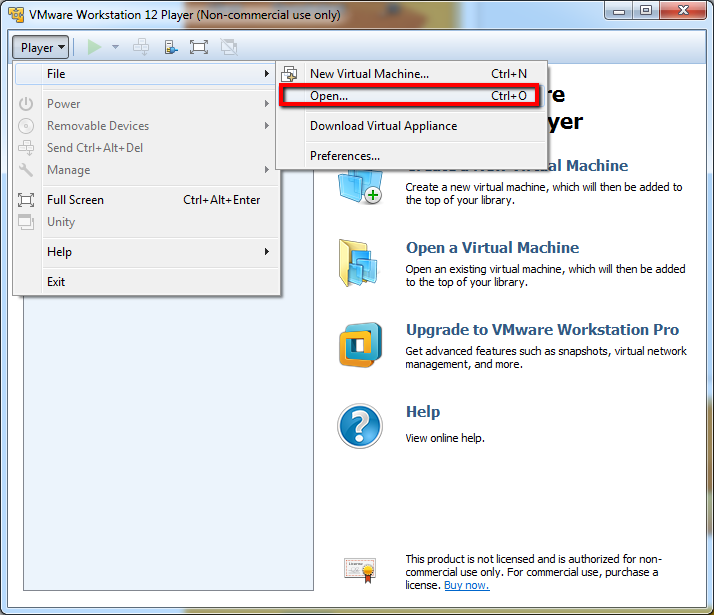
Choose File -> Open
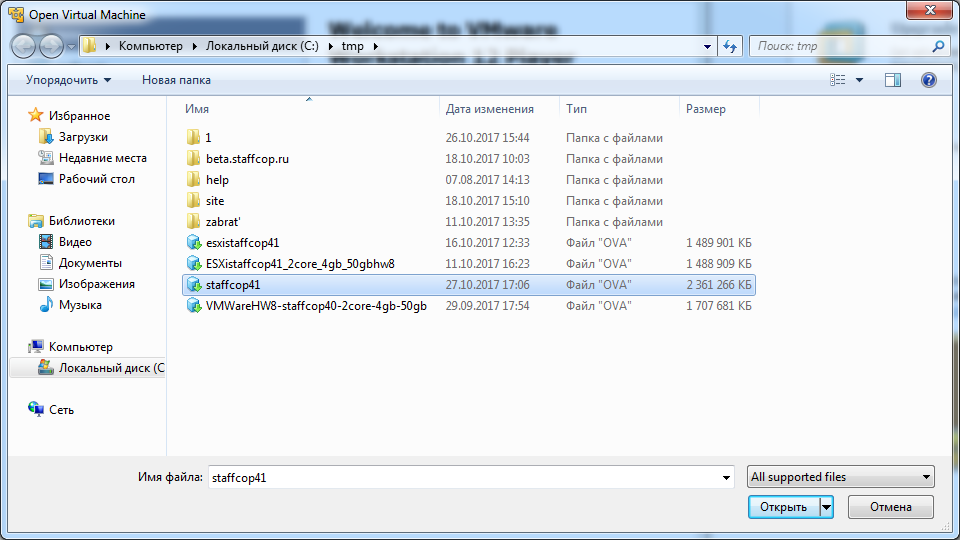
Choose downloaded OVA file in the corresponding dialog. Click “Open”.
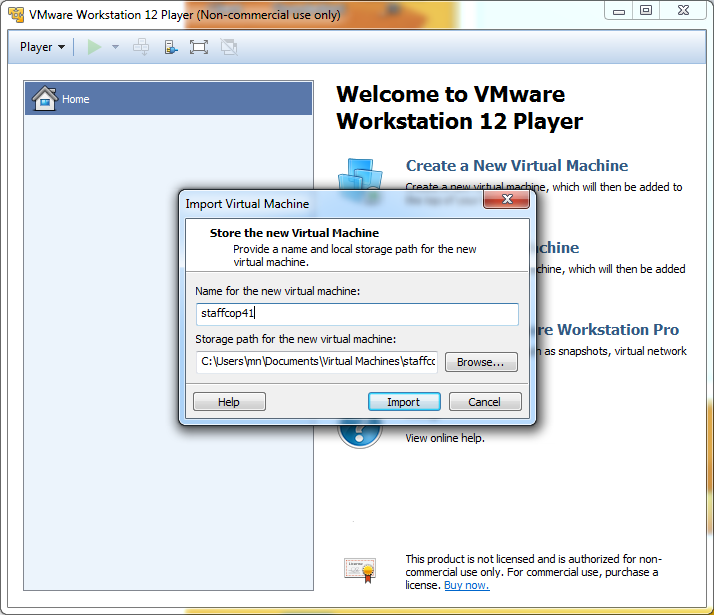
Input the name of the virtual machine and specify drives’ locations, then click Import
Wait for while. Importing takes some time, usually a couple of minutes is enough. Importing time may vary depending on hardware, usage of CPU resources by other processes, e.t.c.
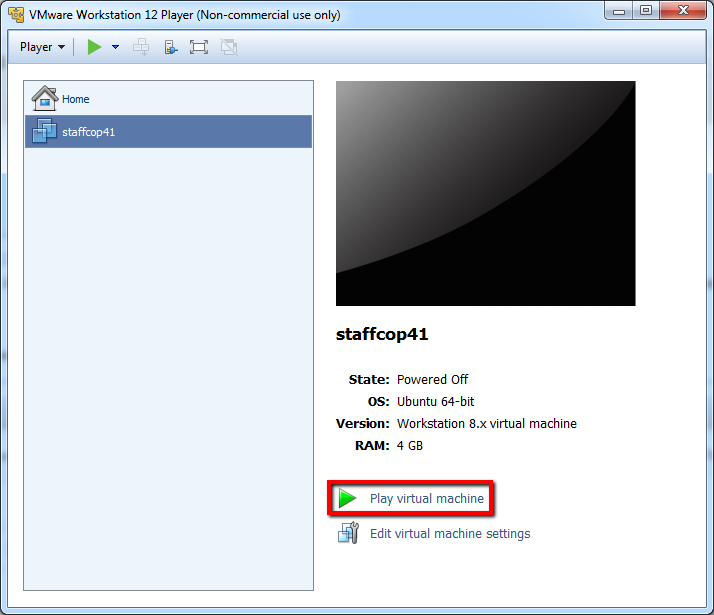
When import is completed, choose the imported virtual machine, then click Start.
VMware vCenter/ESXi
Download the template for WMware (HWVersion 8, ESXi 5+, Player 4+)
VCenter
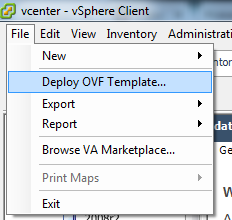
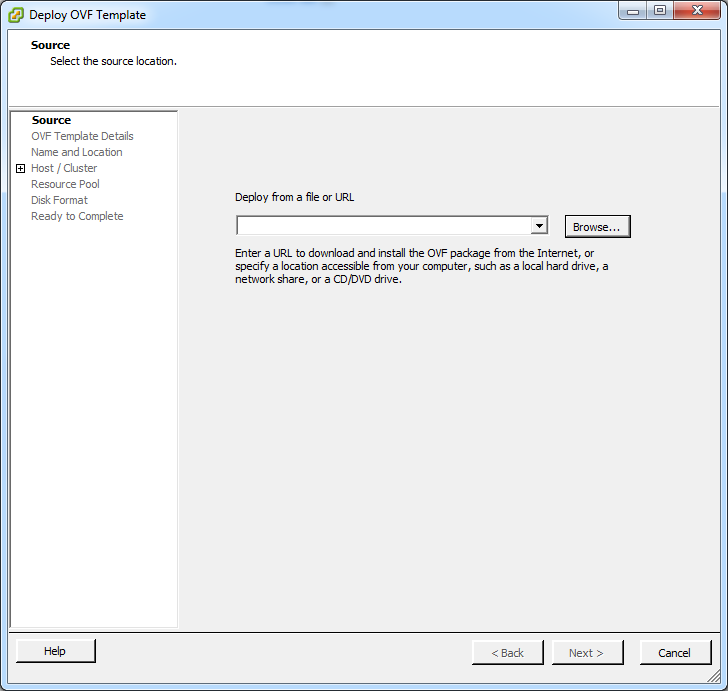
- Open menu File - Deploy OVF Template
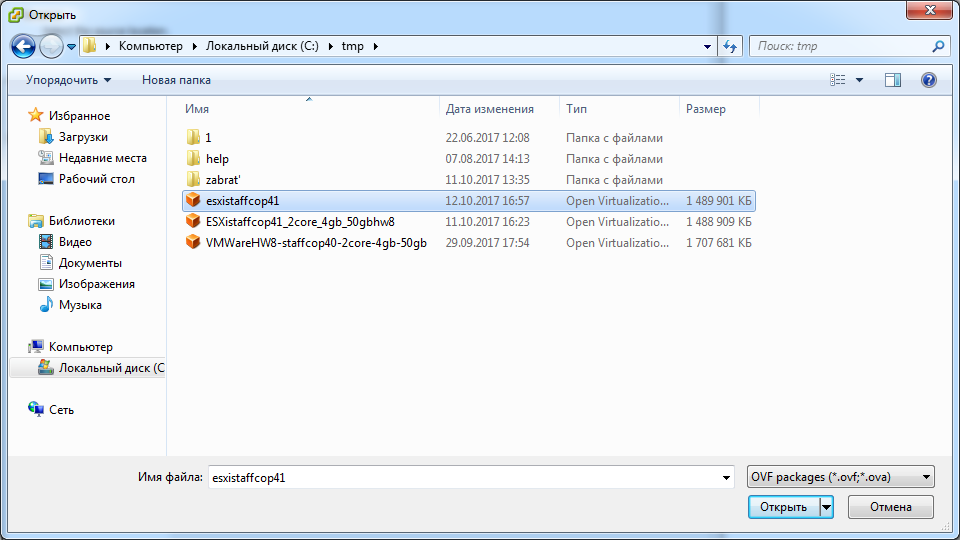
- Choose Browse in the open menu
- Choose the downloaded OVF Template, click Open.
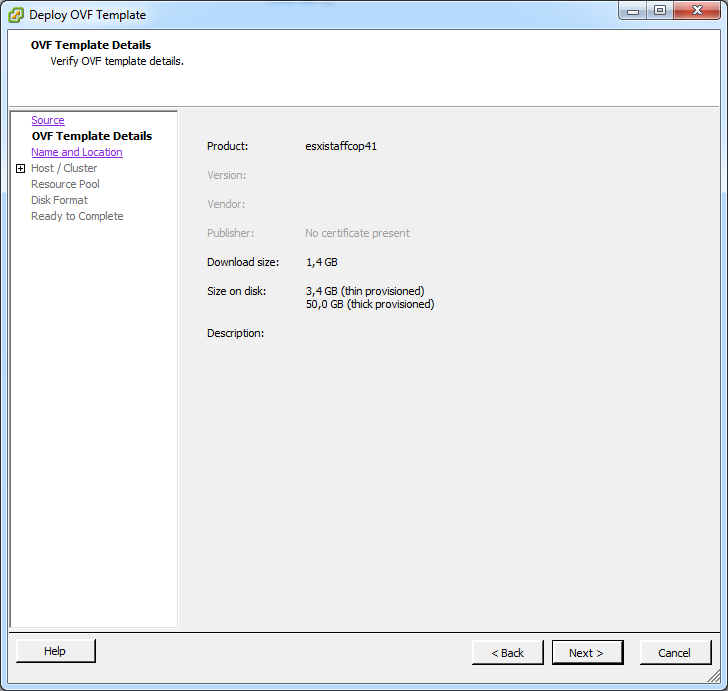
- Next→ Next
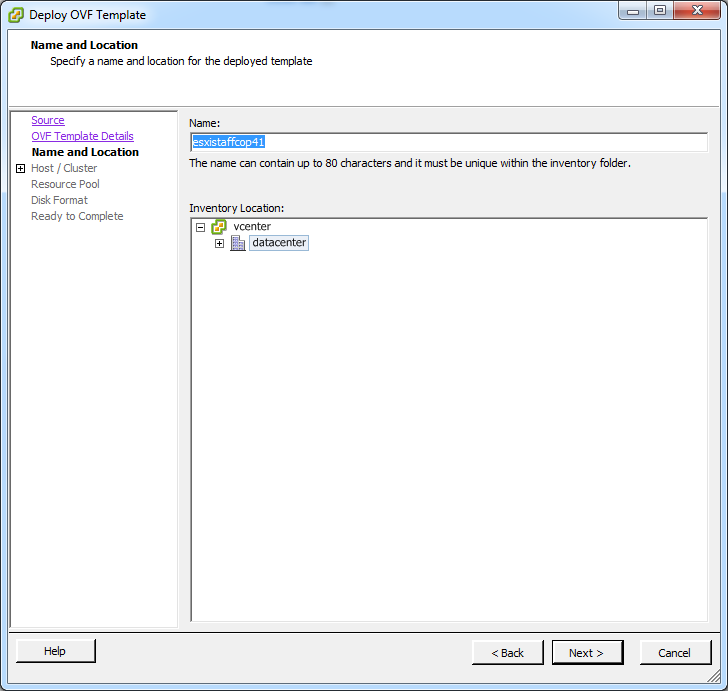
- Specify the name of the virtual machine and specify its location.
- Choose cluster or host where the virtual machine will be deployed.
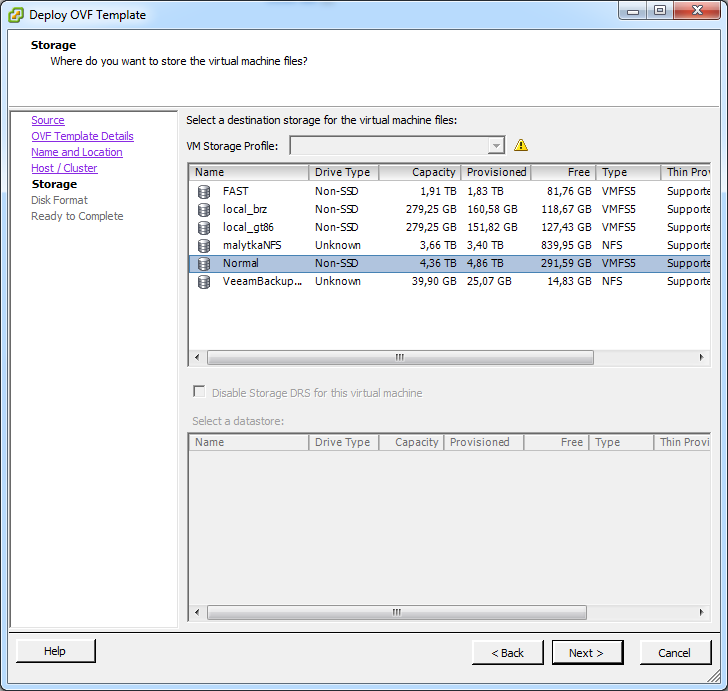
- Select a destination storage for the virtual machine files.
- Specify Disk Format. (Thick provision takes all the space at once (50 GB))
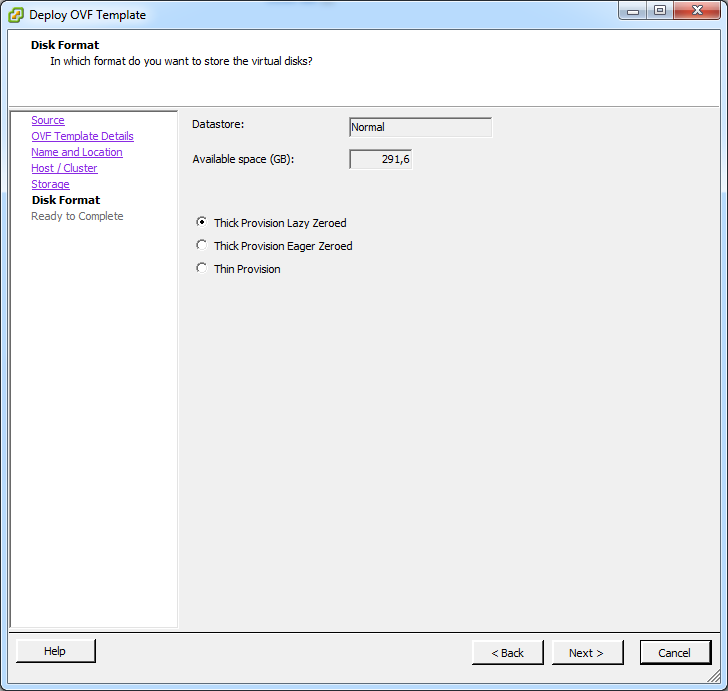
.
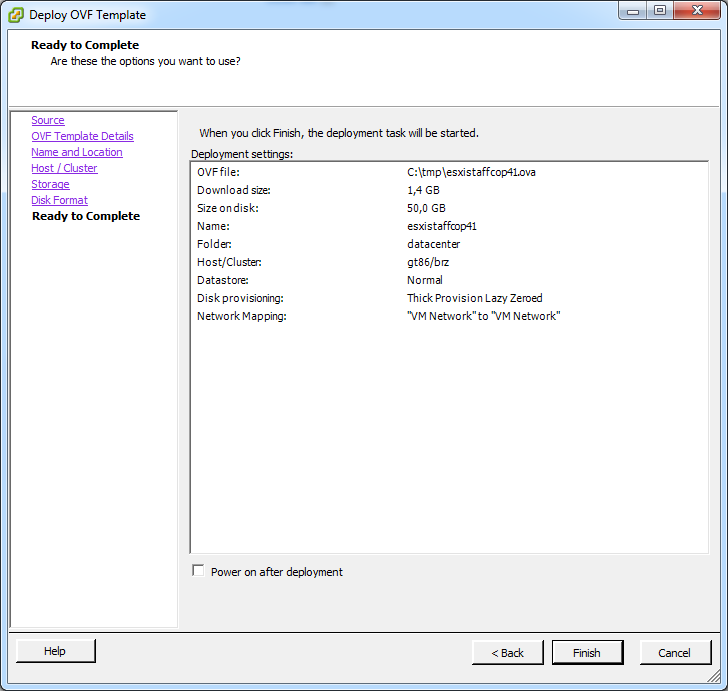
Click Finish
After installation you should start the virtual machine and input login and password.
When importing from image the Linux-consol is accessed with login: support and password: support
Note
You should refer this article if you require your virtual machine automatically started after a reboot of the host OS
Note
Before rebooting the host system (the one you you launch the virtual machine you should correctly stop the work of a virtual machine with StaffCop i.e open the window of virtual machine and choose option - “send the shutdown signal”.
Then you can refer the article Final steps.
Note
Avoid giving SSH-access to your server from beyond the LAN. In case of necessity, use key authorization and unstandard ssh-port to decrease the chance of your server hacking.