Install on VMWare
Check that you have:
Your CPU supports virtualization. If this option isn’t enabled in BIOS any virtual environment will be able to create only 32-bit machines, but our system requires 64-bit support.
Note
Pay attention that a virtual machine can take control over mouse and keyboard making them unavailable for the host OS. Usually, Ctrl+Alt key combination is used to switch between a virtual machine and the host OS.
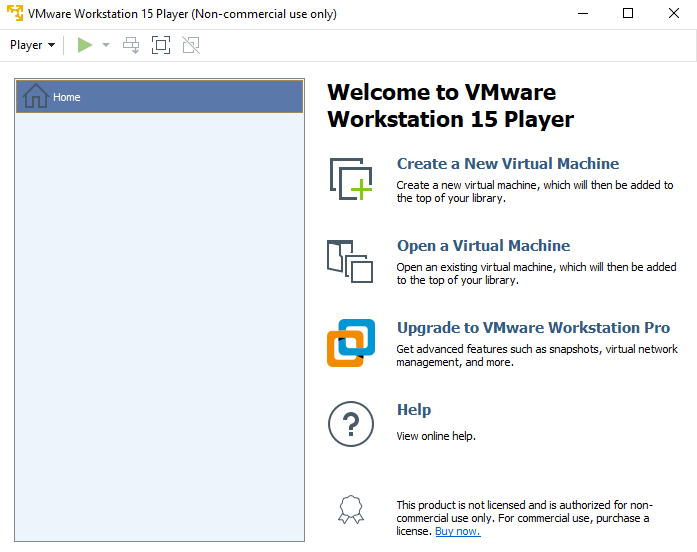
First we should download the ISO-image of StaffCop Enterprise and a virtualization environment following the link above. Then launch the installer of virtualization environment - «VmWare Player» and wait until it’s installed in the system.
Start installation
Launch Vmware. Click «Create a New Virtual Machine».
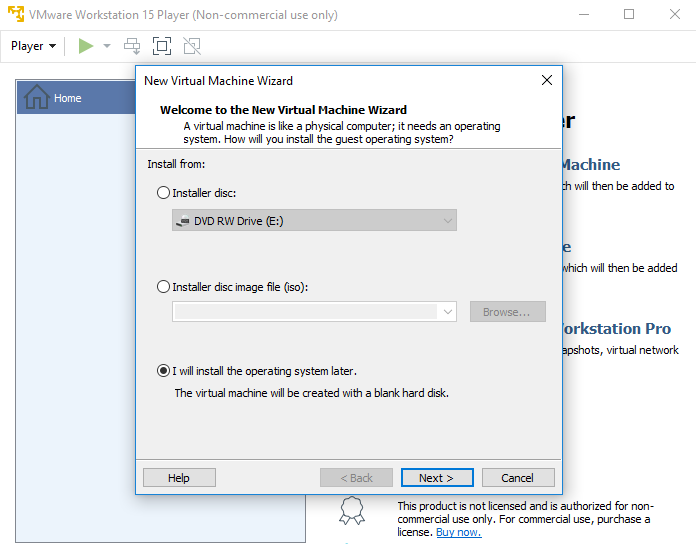
At this step we don’t choose the ISO-image as some versions of vmware start quick Ubuntu installation without the StaffCop service at the moment the ISO-image is chosen.
You can specify the name of the new virtual machine and its location, although you can use the default parameters.

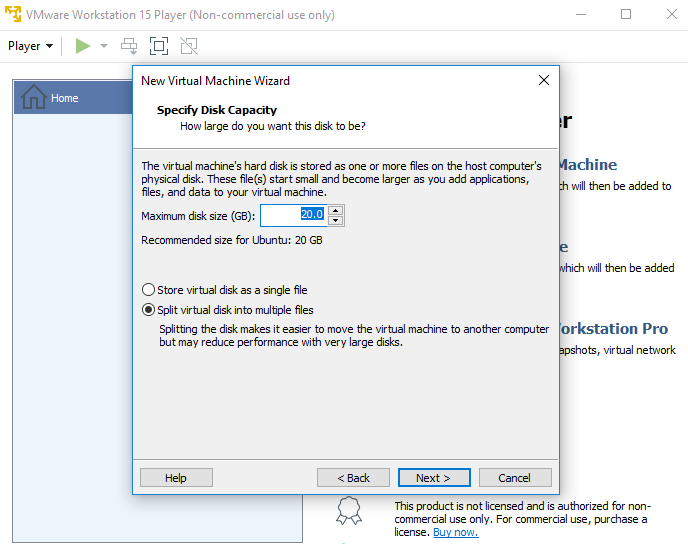
Specify type and size of the hard disk.
Check and correct other parameters of the virtual machine, if necessary.
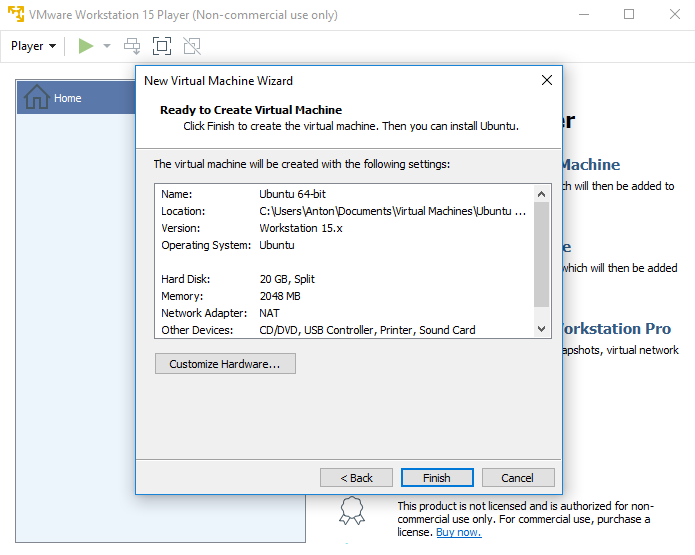
Click “Finish”. The virtual machine is created.
After that you must change parameters and choose the ISO-image which will be used as the boot disk.
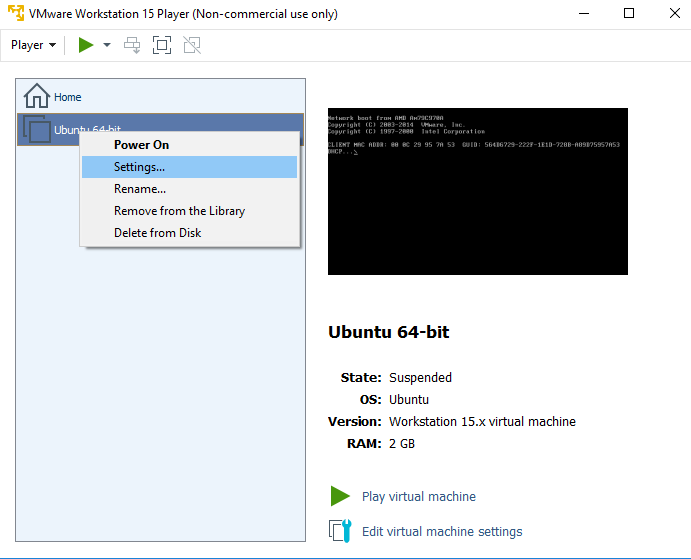
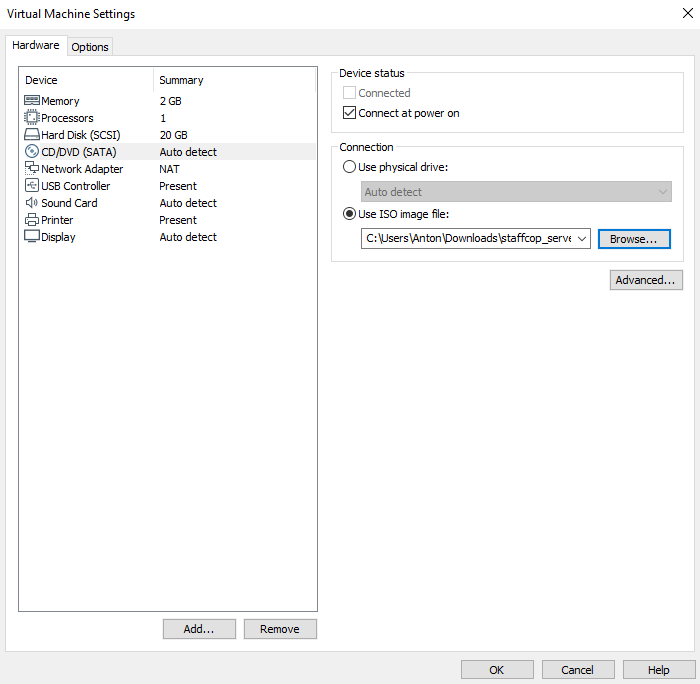
Then follow the instructions described in “Install from ISO-image”.
Note
Avoid giving SSH-access to your server from outside your corporate network. In case of necessity, use key authentication and not commonly used ssh-port to decrease the chance of exposing your server.