Install on Hyper-V
Prior checking
Check that you have:
Installation disk image of Staffcop Enterprise in .iso format.
Your CPU supports virtualization. If this option isn’t enabled in BIOS any virtual environment will be able to create only 32-bit machines, but our system requires 64-bit support.
Available options for enabling the virtualization.
Note
The virtual machine can take control over the mouse courser and keyboard. In this case they will be unavailable for the host system, this way the mouse courser will be moved exclusively within the window of the virtual system. You can switch from the virtual machine to the real one with the right Ctrl.
Attention
We strongly do not recommend to install multiple virtualization environments simultaneously on the same computer, that is, avoid to install Virtualbox and Hyper-V on one machine.
Installation of virtualization environment
Before the installation make sure to have the StaffCop Enterprise ISO-image downloaded. Then install the virtualization environment by following the instruction available at the link above.
Marking up and setting the parameters
Run «Hyper-V manager» from the command line or with the quick start.
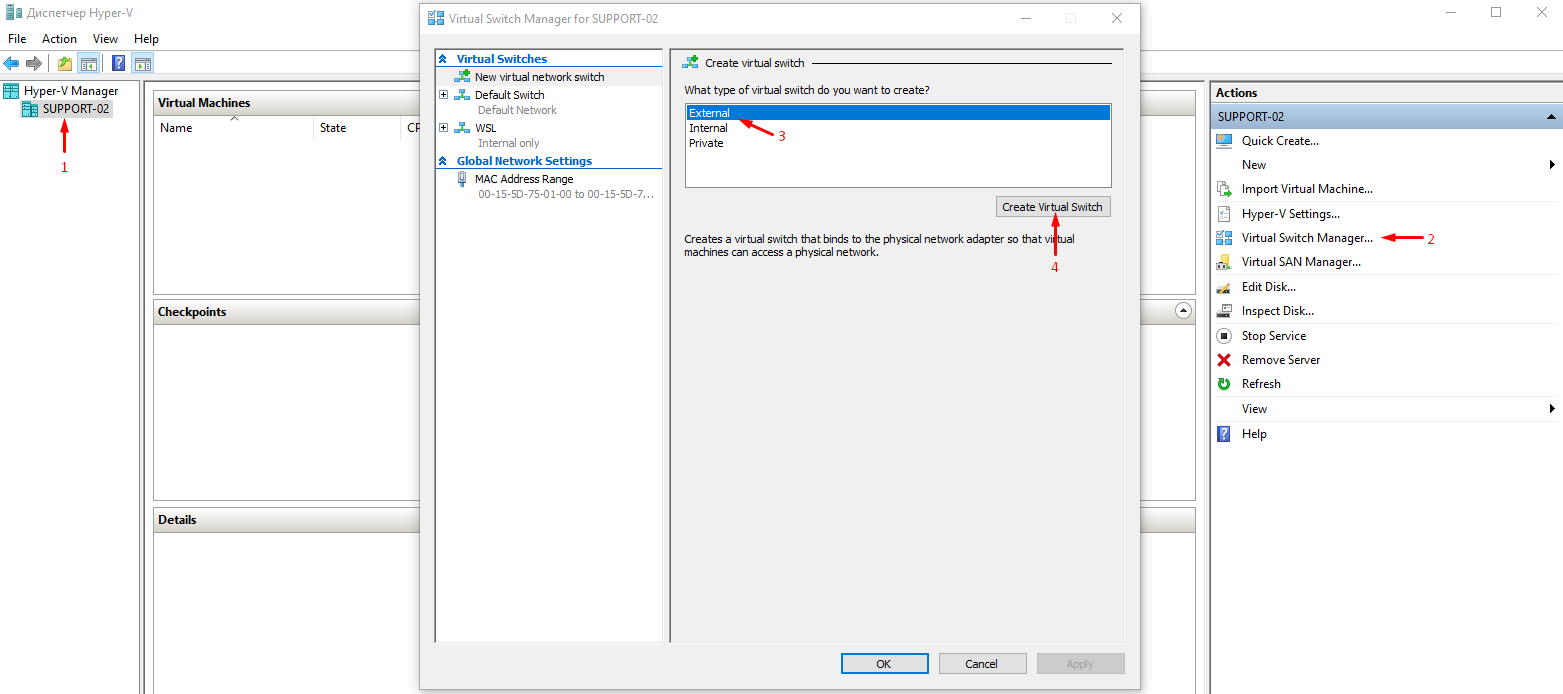
First we need to specify network settings. For this right click «Virtual switch manager». In the pop-up window select «External» menu item and then press «Create virtual switch». Then press «ОК» button and confirm by clicking «Yes» in the appeared window.
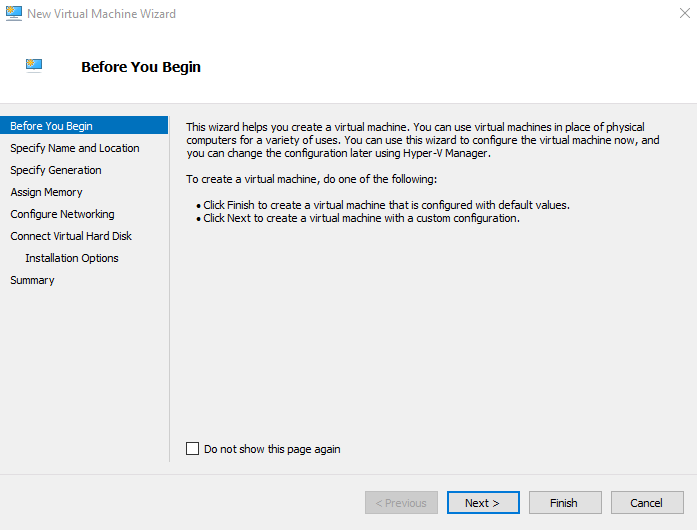
Next press «Create» button and select «Virtual machine…» menu item. «New virtual machine wizard» window will appear. Then proceed with «Next» button.
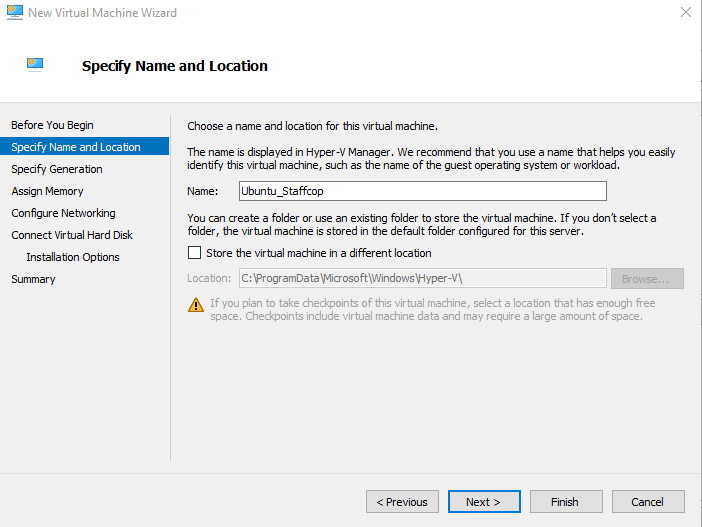
Enter a name, for example, Ubuntu_StaffCop. Click «Next» button.
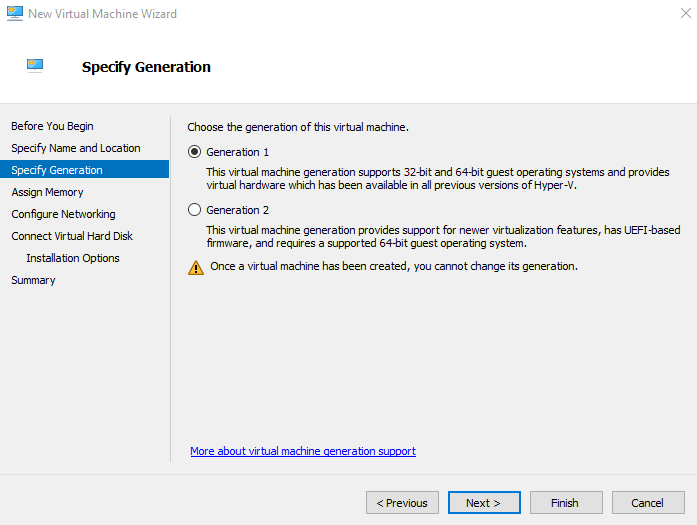
Select «First generation» for virtual machine. Press «Next» button.
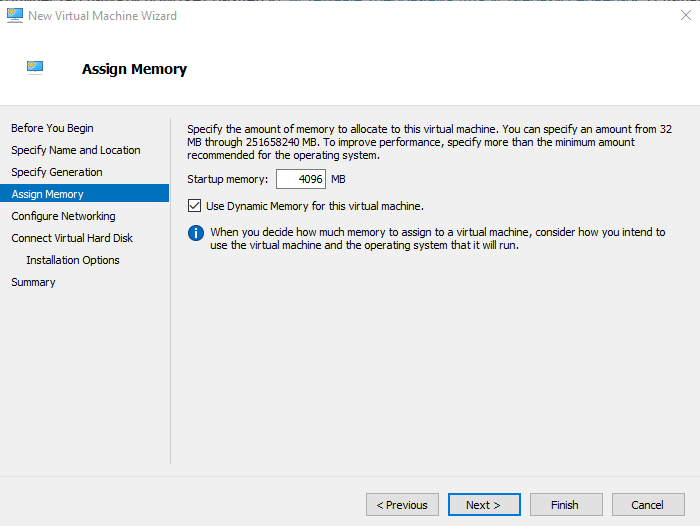
Set a memory value for virtual OS. A value more than 50% from the available memory can cause a slowdown in the performance of the main OS (It depends of a memory value).
Note
You can determine the required memory amount via «System requirements for server installation» section. The amount of the virtual machine memory can be increased later.
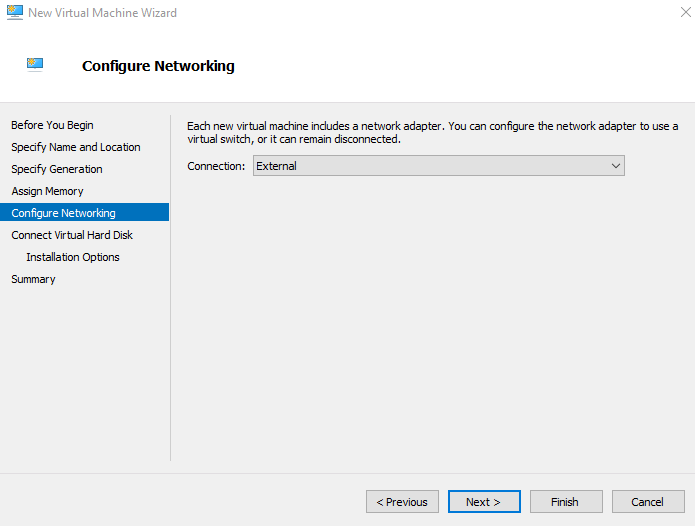
Select the appropriate connection and proceed with the «Next».
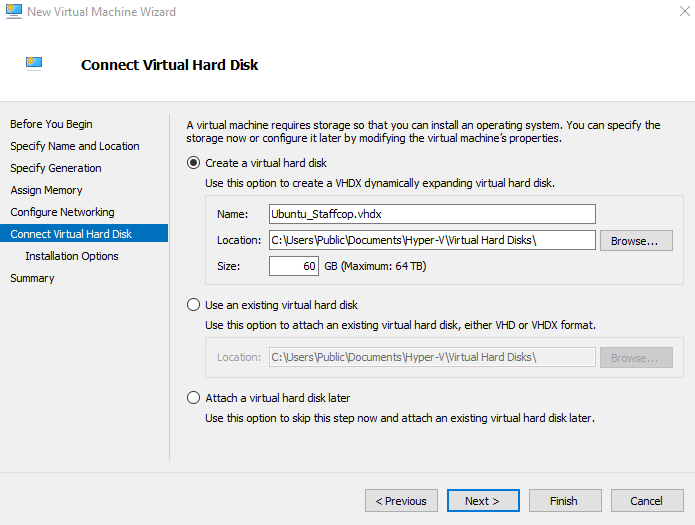
Create a virtual hard disk. Indicate its name, location and size (should be 60 GB at least).
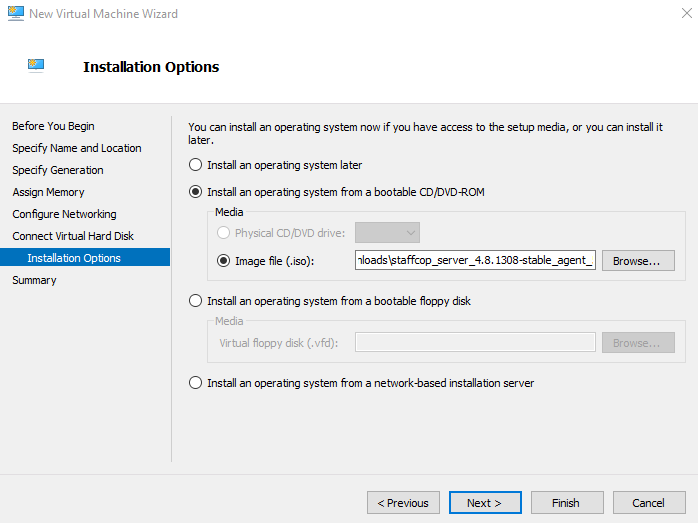
Select «Install operational system from the boot image file» menu item. Press «Browse» button and specify location of ISO-image. Click «Done».
Select the virtual machine we have just created and press «Run». Then follow the instructions given in «Install form ISO-image» section.
Note
You should avoid providing ssh-access to your server through an external network. In case such access is essential, make sure to use key authorization and customized ssh-port. Thus you will reduce the chance of hacking your server and will be sure that your server is quite safety.