Mail Server Settings
Email notifications can be configured in the Mail server settings for:
Before You Begin
Make sure the following essentials are ready before setting up email notifications:
An active email account.
The SMTP server details: the server address, port number, login info, and app password, if needed.
It is not possible to configure email notifications otherwise.
Adding and Editing a Mail Server
Go to Control panel → Mail server settings.
Click Add to add a mail server.
Click on the SMTP server field of an existing mail server to edit it.
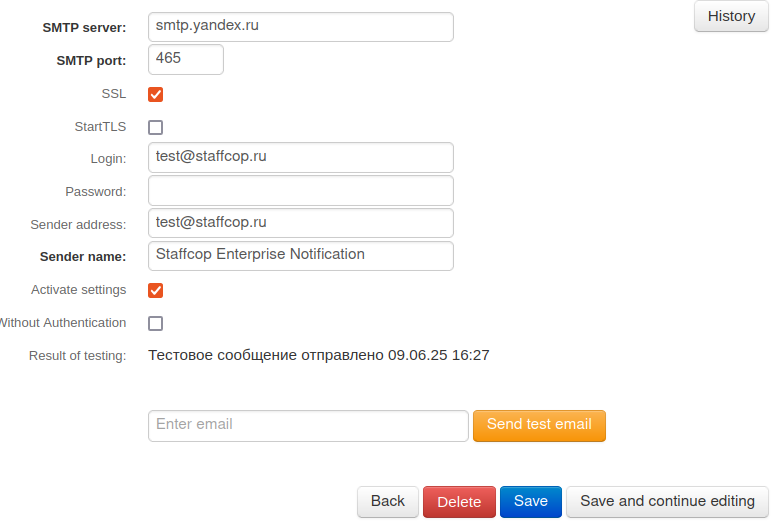
Fill in the following fields:
Specify the SMTP server and SMPT port according to your email account settings.
Select:
SSL — if using port SMTP 465,StartTLS — if using port SMTP 587.
Fill in the required fields:
Login — the email account login,Password — the email account password.
Note
If you’re using an external SMTP server, enable two-factor authentication and generate an app-specific password. For instructions on setting up a Google SMTP server, see the Help Center article.
Specify the additional parameters:
Sender address — this will appear in the From field. If left blank, the system will use the Login address.Sender name — shown as the email sender. The default sender is Staffcop Enterprise Notification.Activate settings — select this option to use this mail server to send email notifications.Note
If there are several mail servers, select one to send email notifications.
Without Authentication — select this option if the SMTP server does not require a login and password.
After filling out the form, press Save and continue editing.
Testing Email Notifications
To test the email notifications:
Add the recipient email address into the Enter email field.
Click Send test email.
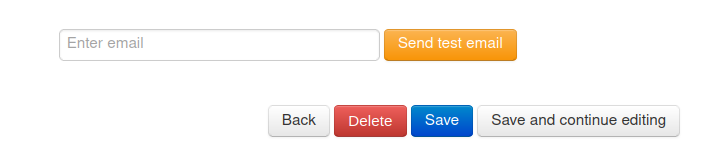
Deleting a Mail Server
Open the mail server’s settings.
Click Delete.