Incident console
Incident console is meant for managing incidents - create incidents, store and process them, display some basic statistics on incidents.
The idea of working with incident console is that a chief security officer should define what should be considered an incident, define and create the policies (filters) defining these events and define schemes of reacting to incidents called “Response patterns”.
We should define main incident groups and create descriptions of incident groups in the console, define which administrator will be in charge of which incident group, so particular users could investigate investigate.
Open incident console and view the list of incidents
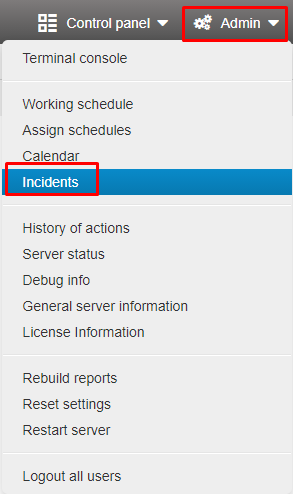
Find “Incidents” in the “Admin” menu of the admin panel:
When you click “Incidents”, you will see the incident console open in a new tab:
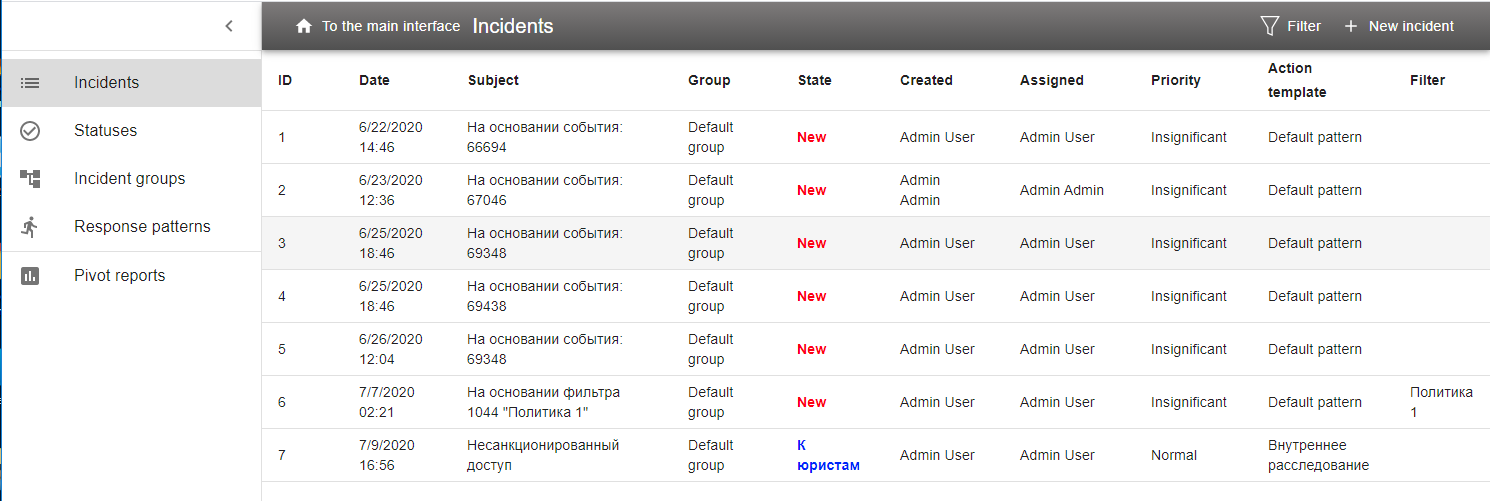
The table displays info on each created incident.
If there are a lot of incidents, you can choose which ones to display - use “Filter” button at the top-right corner.
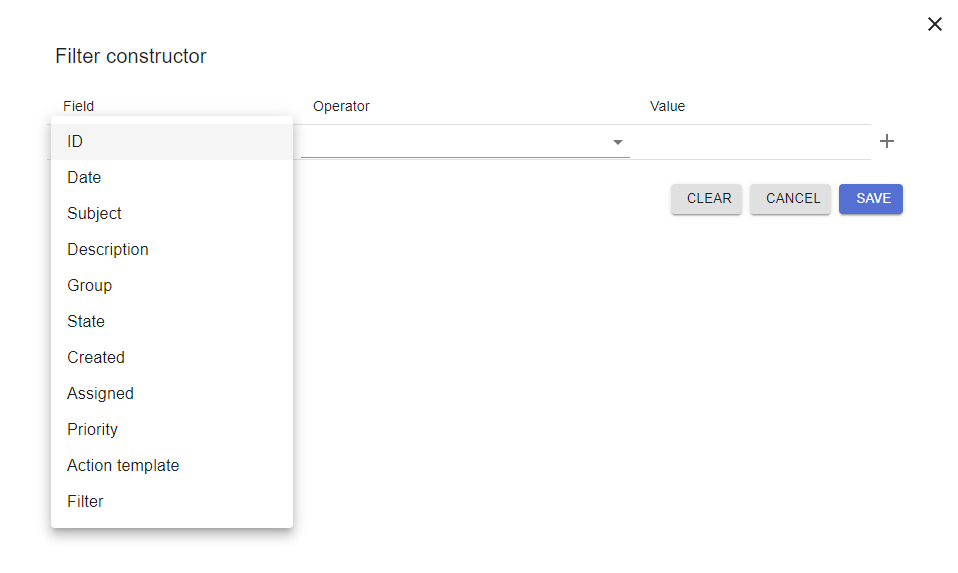
When you click it, you will be able to filter incidents by one or several criteria.
Filter represents a consequence of fields describing incidents that can be used for filtration.
Fields and operations for the fields are chosen by clicking the symbol “down arrow” near the field:
After creating a filter and saving it the incident table will display only the incidents corresponding to the created filter.
Create incident
Incident can be created in two ways: - manually from incident console; - automatically, as a result of triggering a policy or filter.
To create an incident manually click “New incident” button at the top-right corner. A window of incident creation will open:
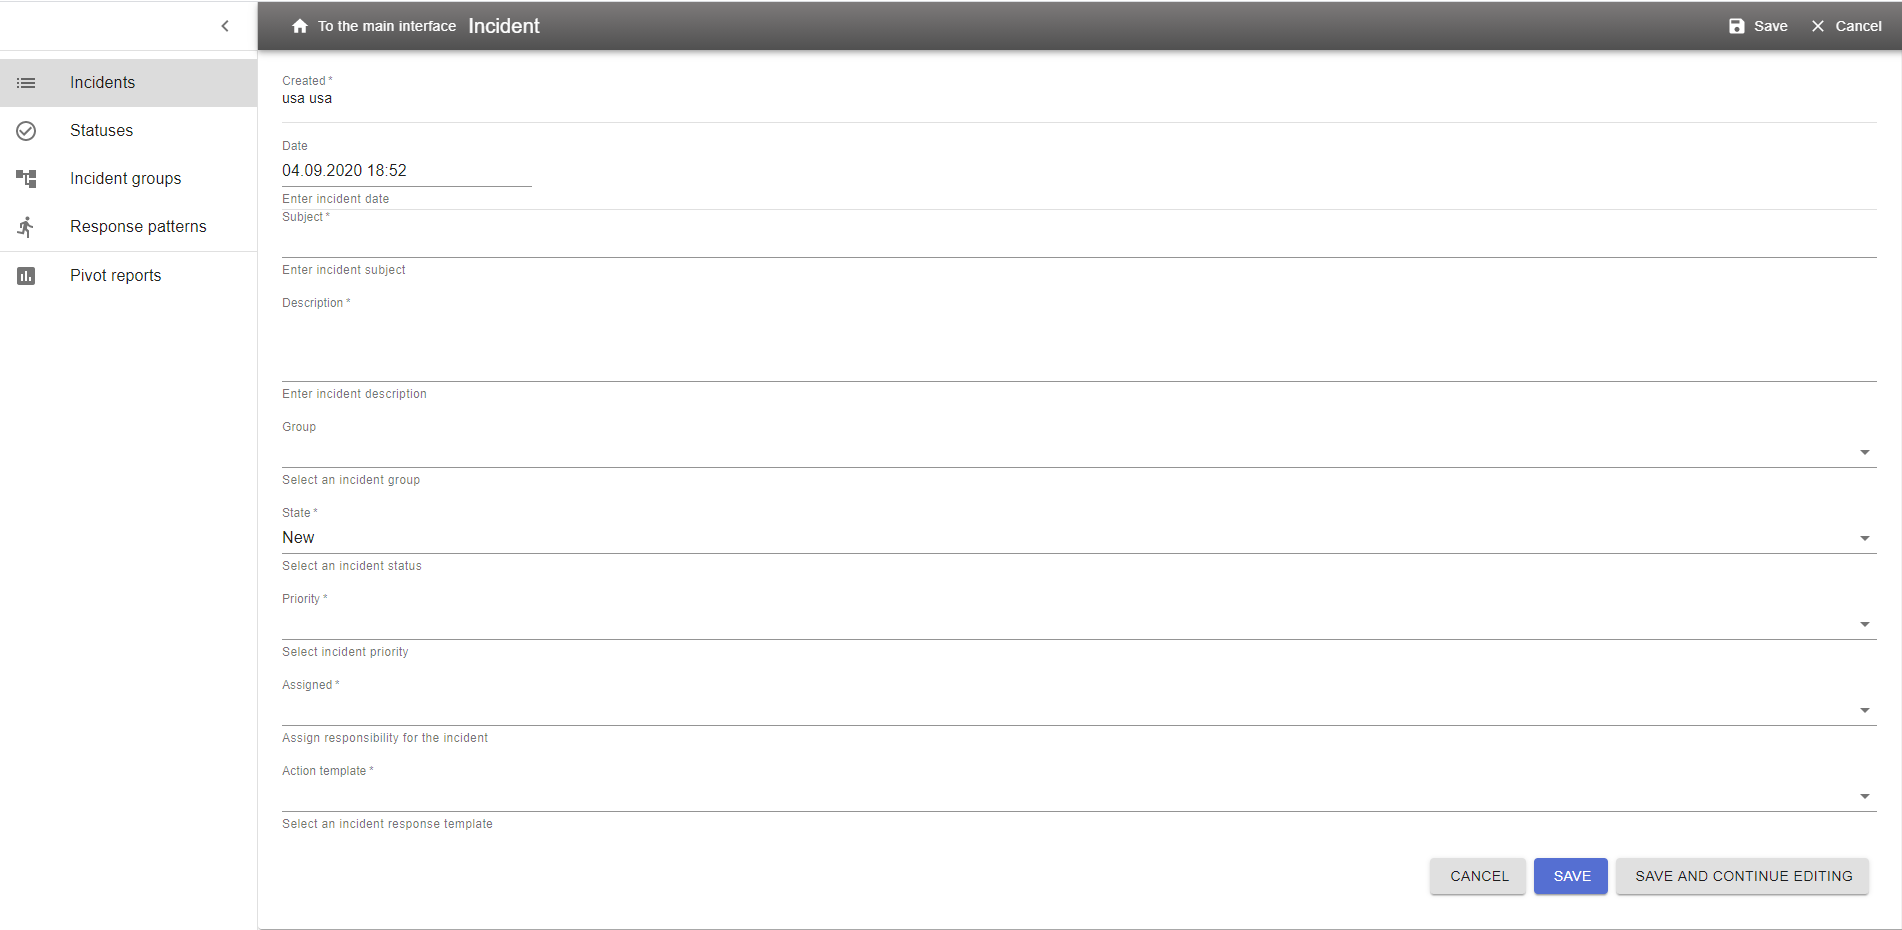
Fill in all the fields in accordance with their descriptions and click Save. Incident is created.
Second way of creating an incident is the automatic one when incidents are created as a result of triggering a policy or filter.
For that you should enable notifications in the created policy or filter.
Unfortunately, a pre-defined policy can’t be edited in such a way, in this case a new policy or filter should be created.
Settings for creating incidents in the automatic mode are configured on “Notifications” tab of a filter or policy.
Check “Activate notifications” checkbox, after this you will be able to edit the settings of incident creating:
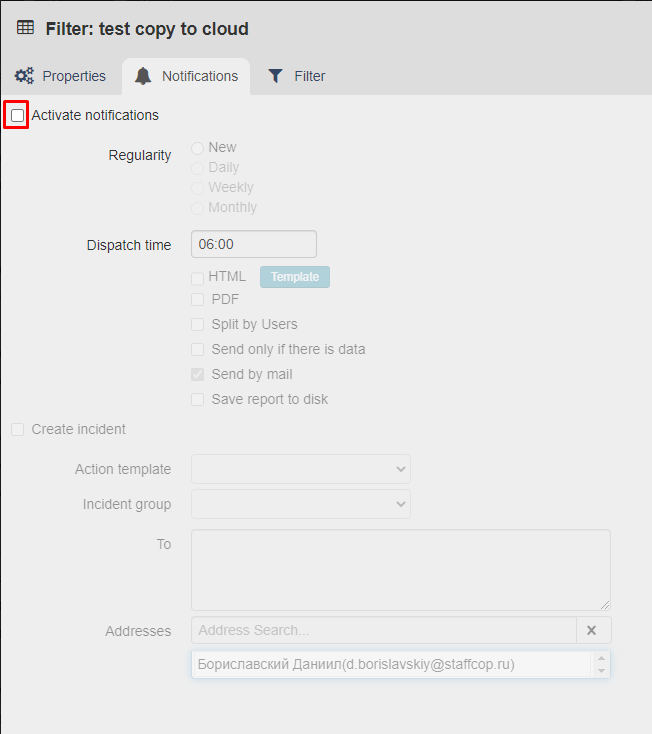
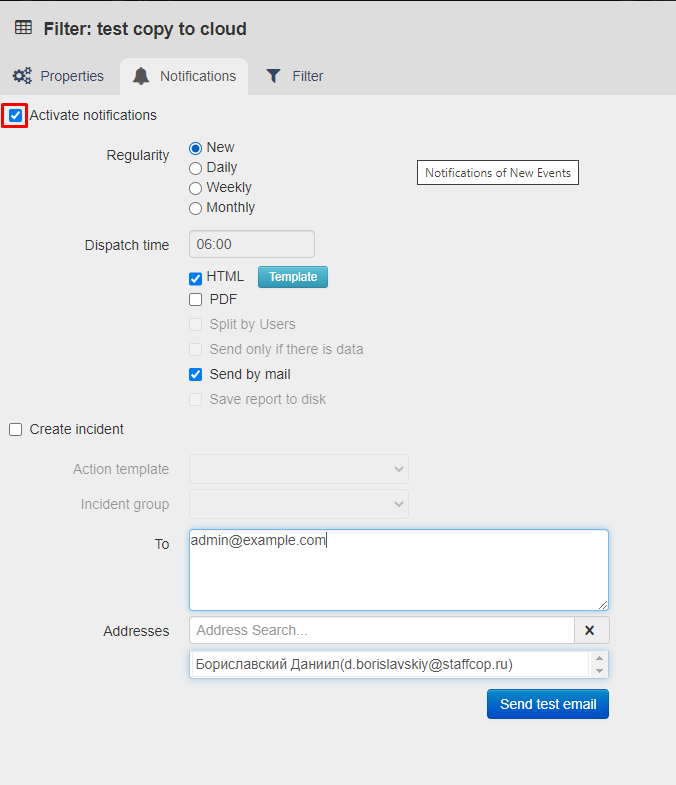
When you have checked “Create incident” you will be able to configure settings of incident creation - Action template, Incident group, and the recipient responsible for reacting to the incident.
Just after triggering a policy or filter the information will be automatically sent to incident console and an incident will be created.
Working with incidents
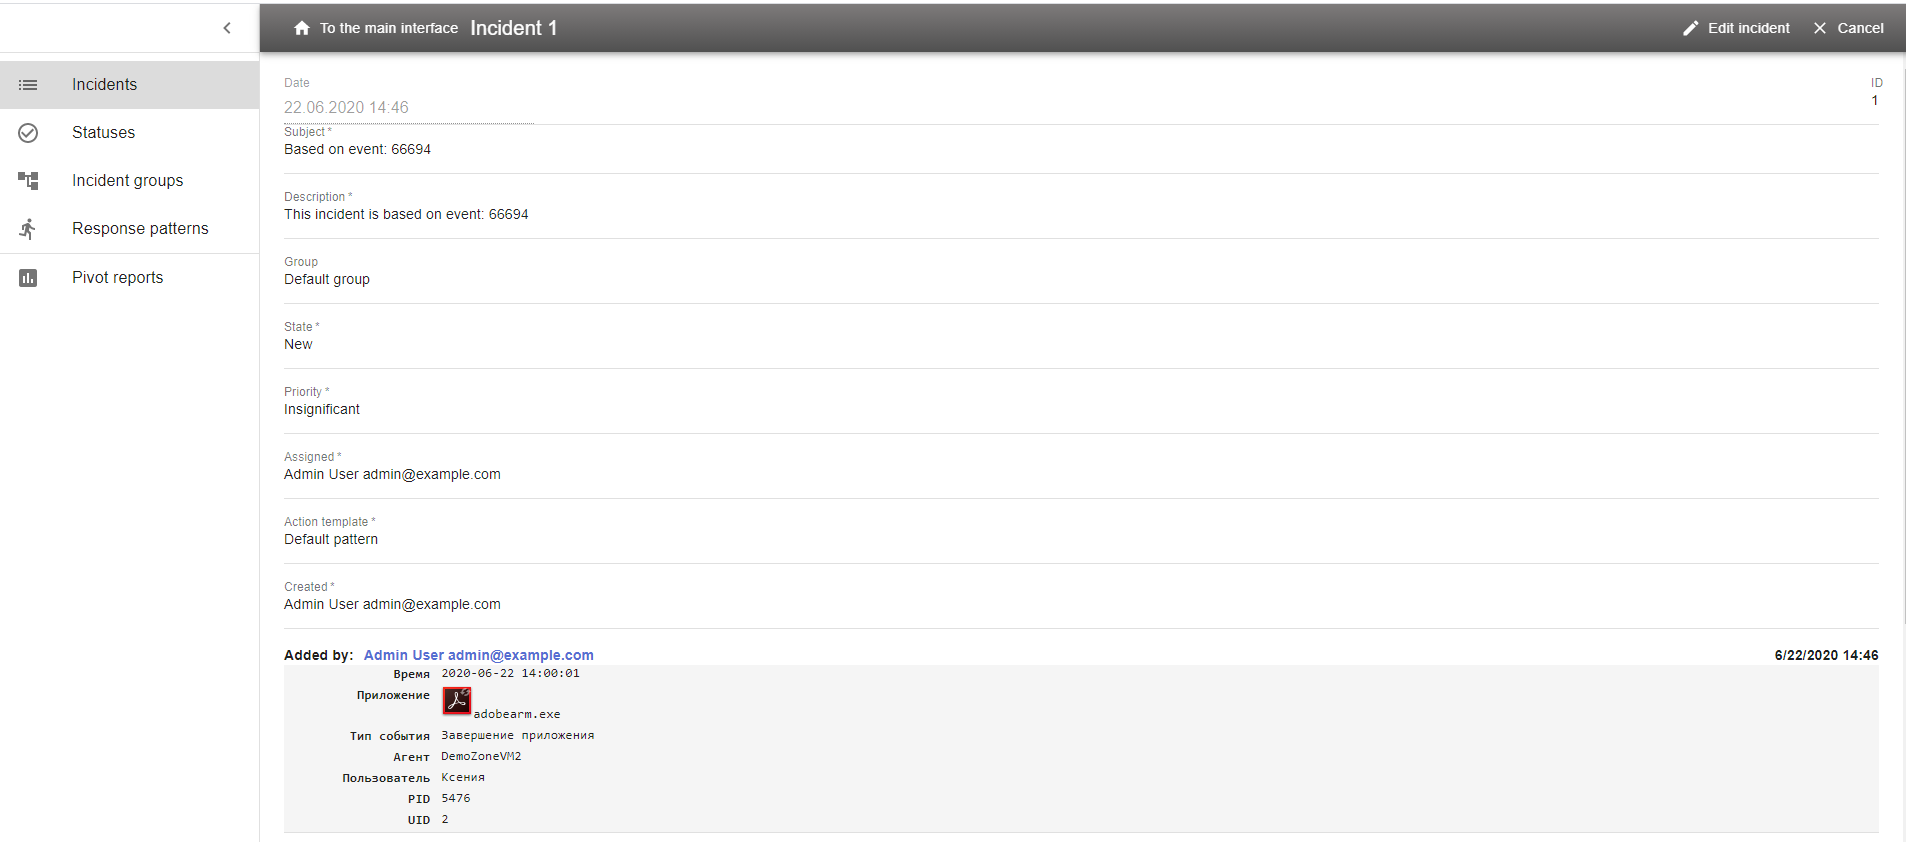
When you click the “Incidents” menu item you will see the incident console.
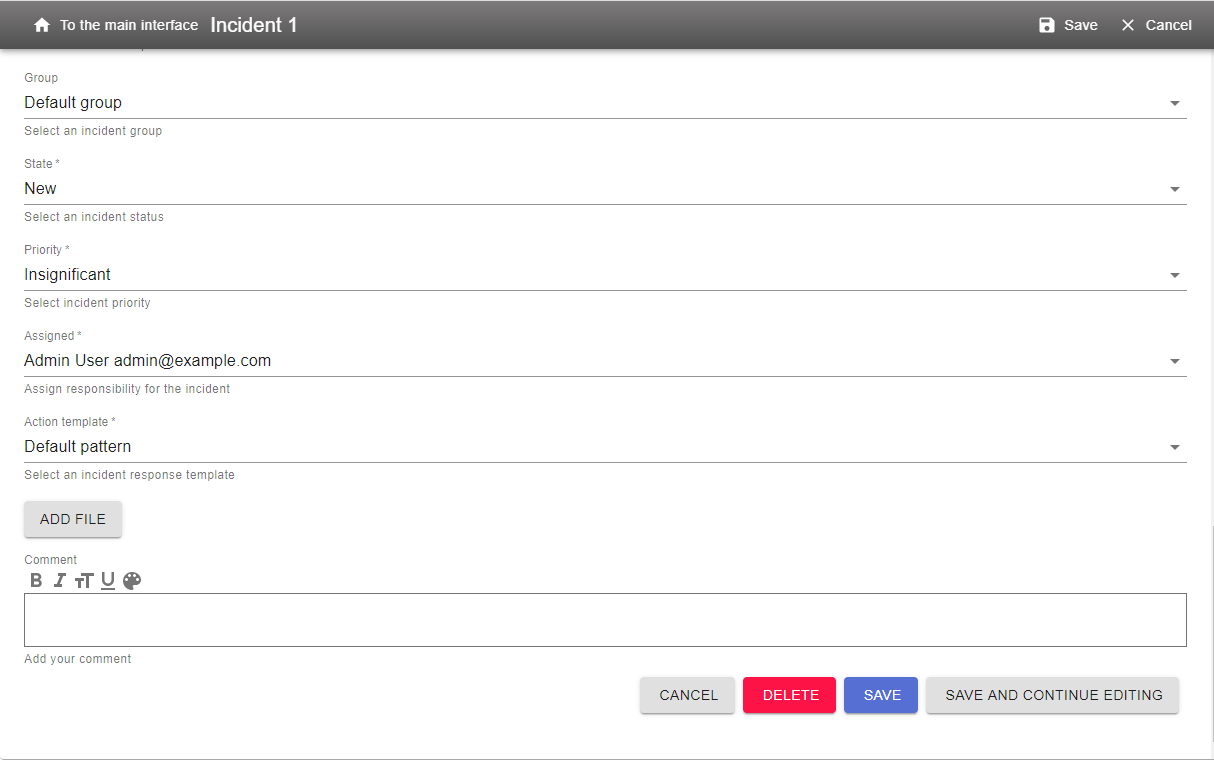
It displays all the information on incidents, in particular, the journal of actions performed with incidents and allows to edit the content of incidents (click “Edit incident” button in the top-right corner or “Edit” in the bottom-right corner).
When you click any of these buttons the view mode is changed to the edit mode and you can edit the information on the incident.
Configure the incidents console
You can configure the incidents console and set up the following parameters: - Statuses of incidents; - Incident groups; - Response pattarn used for reacting to incidents.
Each of these parameters can be edited after clicking the corresponding button in the left part of the incidents console.
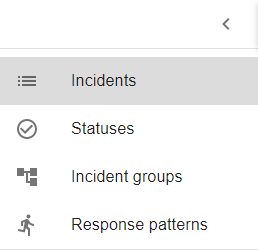
“Statuses” item contains statuses of incidents.
By default, there are two statuses there: “New” (this is the status that each incident gets just after being created) and “Closed” (this status is assigned by a security officer when the incident is already investigated and doesn’t require any further actions).
A security officer can create unlimited number of incidents, to do that , click “New Status” button in the top-right corner:

You will see the panel in which you can create statuses.
When you have filled in all the required fields you can save the filter by clicking one of the “Save” buttons - either in top-right corner or in bottom-right corner.
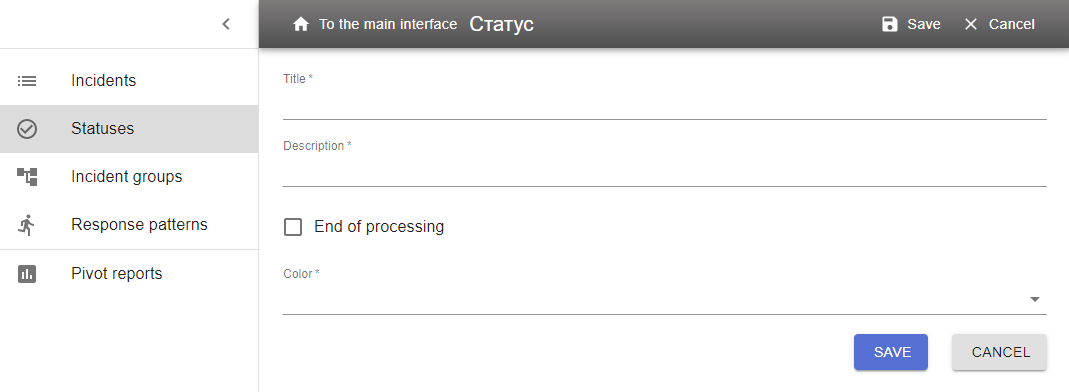
We can create different statuses that can be used for ending the process of work with the incident.
Coloring is used to visually group incidents in the list.
Working with lists of incident groups and response patterns is similar to working with the list of incident statuses (except for the absence of coloring ability). For incident groups you can specify the person responsible for reaction to incidents in this group. For response patterns you can describe the consequence of actions required to solve this kind of incidents.
Pivot reports
Pivot reports allow to get the summary information on incidents.
There are three pre-set reports - “Report on incidents”, “Report on solved incidents” and “Detailed report on incidents”.
The format of each report (ordering and amount of columns) can be changed.
To do this, open the corresponding report to see the panel for reort creating:
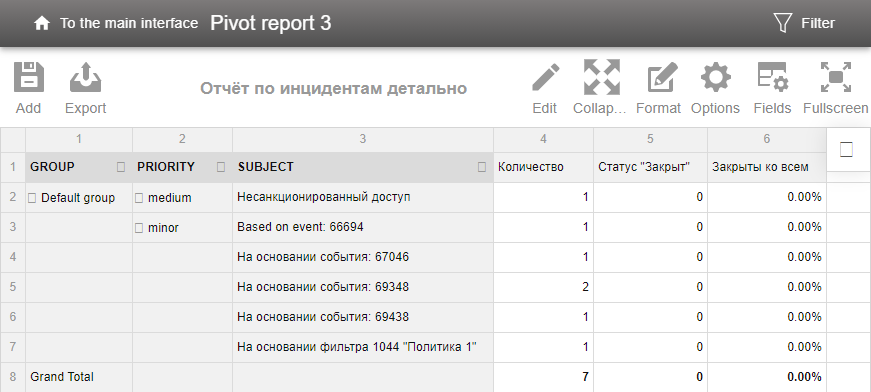
Following options are available:
Add - add report to the list of reports (create a copy of report);
Export - export the report output (printing, HTML or Excel);
Edit - edit source code of the report
Collapse/Expand - hide/show total and subtotal results of the report;
Format - charge the format of report cells and setting the default cell format;
Fields - edit the list of the fields included in the report;
Fullscreen - toggle fullscreen/windowed view of the report.
Report can be deleted by editing its source code. The pre-set reports can’t be deleted.
The “Filter” button found in the top-right corner of the “Incidents” tab allows to filter the output of the list of incidents by specified criteria.
Example of setting automatic incident creation
let’s configure automatic incident creation in case there are no registered events from certain workstations.
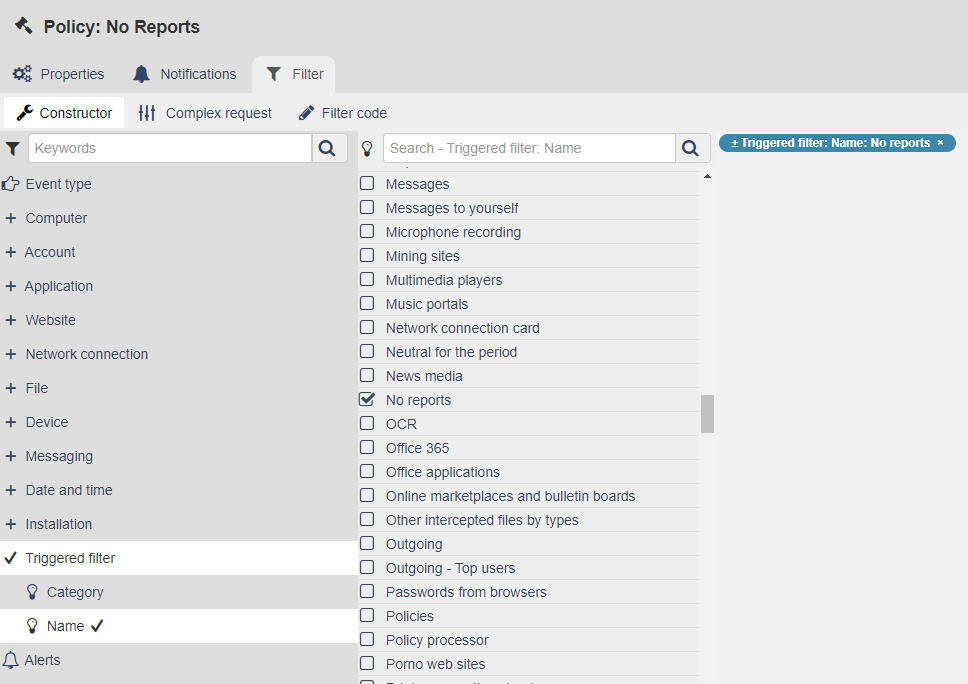
First of all you should configure the system policy called “No reports” (found in “Filters -> Policies -> System policies -> Detectors”). In the settings of this policy you should specify the time period of the absence of evenrs after which incident will be created and choose the required workstations in the “Computer” dimension of the filter. Enable the policy by checking “Policy is enabled”.
Then create a new policy with “Incident” productivity category, enable it, choose “New” as the notifications regulatiry, check “Create incident”, choose the corresponding incident group and action template.
In the filter of this policy you should choose dimension “Triggered filters” and select the previously configured policy “No reports”.
After saving this user policy the absence of events from the specified workstations for the specified period of time will be marked as an incident and the information about it will be automatically sent to the incidents console.