Database migration to another hard disk
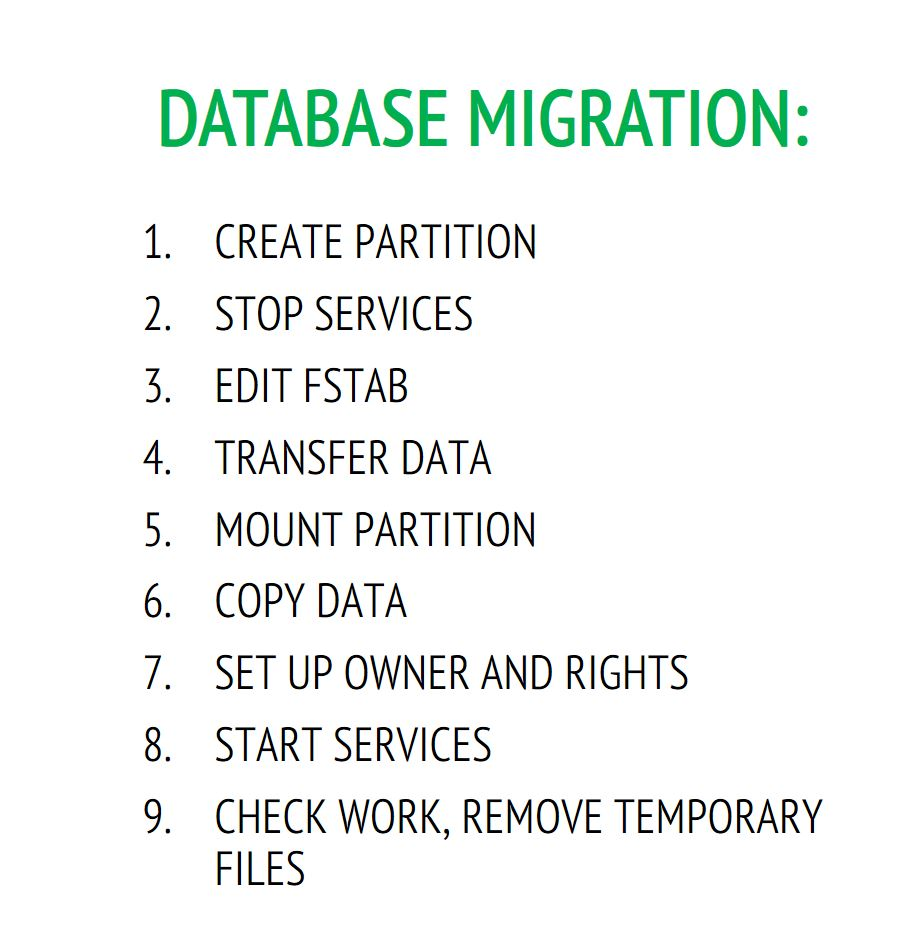
A hard disk/partition must exist in the system and be physically connected. The scheme of database migration:
If the disk has the required partitions, go to step 2.
Note
cfdisk - works only with MBR partitions. If your hard drive is larger than 2 TB you need to use GPT partitions!
If there are no partitions, mark up the disk with your favorite partitioning program, like this:
sudo cfdisk /dev/sdX
and create a file system on it with the command
sudo mkfs.ext4 /dev/sdX
where X is the completion of the disk name.
Stop the services with the commands:
sudo service postgresql stop
sudo service staffcop stop
sudo service nginx stop
Edit the /etc/fstab file
sudo nano -w /etc/fstab
Input the following line there:
/dev/sdX /var/lib/postgresql/ ext4 rw,noatime 0 2
Where /dev/sdX is your hard disk, /var/lib/postgresql/ is the directory where the contents of the disk will be displayed, ext4 is the file system type (if you use another fs jfs/xfs/reiser, etc. this option is changing.) rw - means permission to read / write to disk. You can also register a disk by UUID. You can get the disk UUID with the command:
sudo blkid
In this case, the first part of the record will look like UUID=, where you need to enter a result in quotation marks for the output of the above command.
Warning
Partitions with GPT formatting can be mounted only by a UUID disk!
Create a folder for backup, and move the data from the database directory there.
mkdir /home/user/rezerv && sudo mv /var/lib/postgresql/* /home/user/rezerv
Where user is the user’s home directory, most likely you have a different name for it. You can find out the user’s home directory with the command
env | grep -E "home|HOME"
the output result of this command will be the home directory of the user on whose behalf this command is executed.
Check the correctness of the mount with the command
sudo mount -a
This command mounts a disk that is already registered in**fstab**, but not yet mounted.
Accordingly, if we have entered something incorrectly or made a mistake, we will see mounting errors, and, accordingly, we will be able to correct the errors. We check the correctness of the disk mount with a command like
df -h
You can also check that this section is writeable. For example, create a text file and check its presence with the commands
touch /var/lib/postgresql/11/main/test_write.txt && ls -l /var/lib/postgresql/11/main/
Or simply by executing the mount command without parameters: its result will be the output of all mounted systems; our new device must be mounted as rw.
Copy everything to the hard drive,
sudo cp -R /home/user/rezerv/* /var/lib/postgresql/
In case you have moved data to another directory, make changes according to the actual location of the files.
Change the owner to postgres.
sudo chown -R postgres:postgres /var/lib/postgresql/11/main
We change the user’s access rights as 700.
sudo chmod -R 700 /var/lib/postgresql/11/main
Start staffcop and postgresql.
sudo service postgresql start
sudo service staffcop start
Run the command
sudo staffcop sql
write analyze; in the appeared invitation, then wait.
errors of the type “WARNING:”pg_shdescription” are skipped - only the superuser can analyze this object” are not critical, since they indicate that the command run with these rights could not analyze the database service tables. This is not required.
Enter the web interface, check that everything works, all reports are visible, and so on. If everything is in order, you can delete backup files.
rm -R /home/user/rezerv
Like any rm command, it should be used with caution.