Install on Virtualbox
Preliminary check
Check that you have:
Your CPU supports virtualization. If this option isn’t enabled in BIOS any virtual environment will be able to create only 32-bit machines, but our system requires 64-bit support.
Note
A virtual machine can take control over mouse and keyabord, making them unavailable for the host system, which means that mouse cursor won’t be able to leave the windows of the virtual machine. Usually, right Ctrl is used to switch between the host OS and the virtual machine.
Warning
We don’t recommend installation of several virtualization environments on a single computer, in particular, VirtualBox and Hyper-V.
Virtualization environment installation
First we should download the ISO-image of StaffCp Enterprise and a virtualization environment following the link above. Then launch the installer of virtualization environment - «VmWare Player» and wait until it’s installed on the system.
Markup and settings
Launch Virtualbox from the «Start» menu, command line or from a shortcut.
Click “New” button. Input Name, for example Staffcop. Choose Type — Linux. Choose Version — Ubuntu 64-bit. Click «Next».

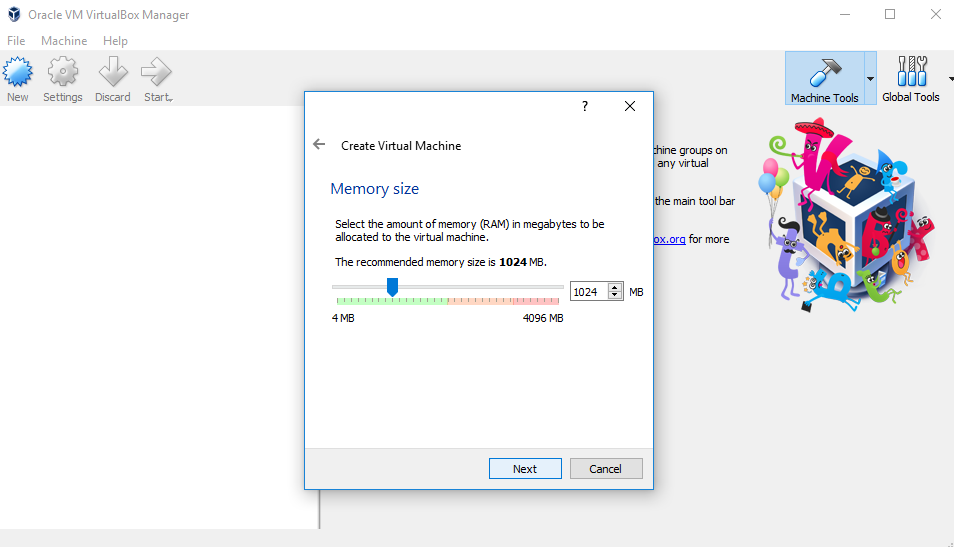
Specify memory size for the virtual OS. If it’s more than 50%, the performance of the host OS may be reduced. One can’t set this size more than 75% from the graphical interface, but this can be done from command line.
Note
It’s helpful to study “System requirements for StaffCop Server” to define required memory size. It can be increased later.
Choose parameters of the hard disk.
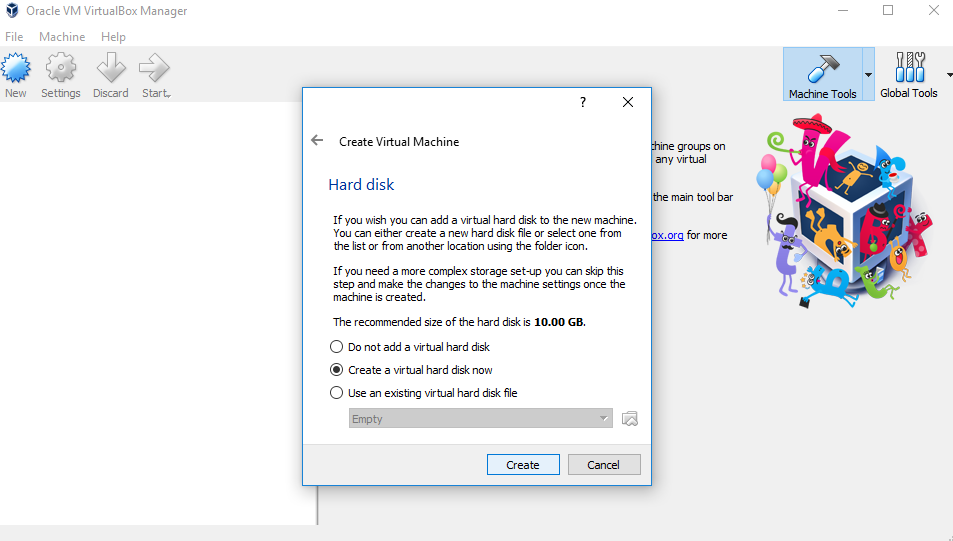
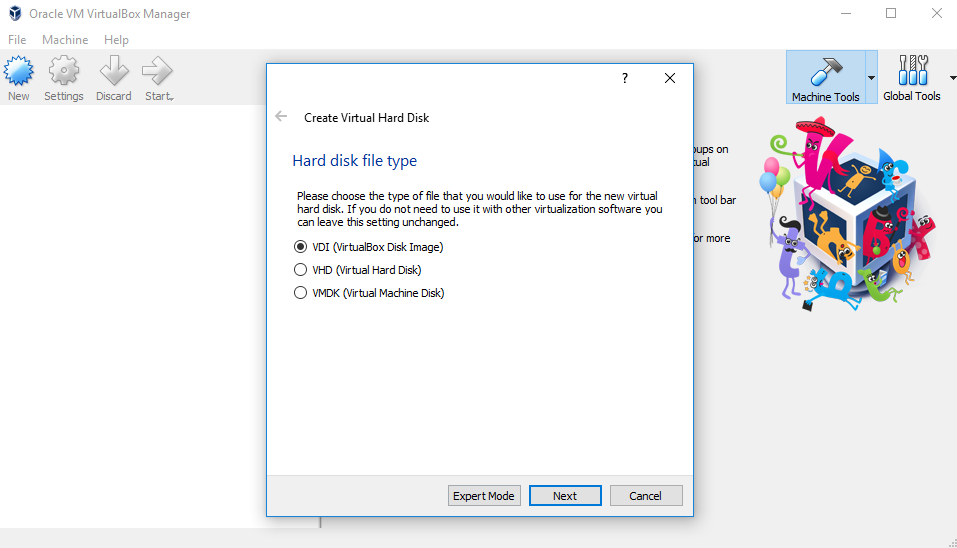
Click «Create». Choose hard disk type. If you don’t know what to choose, don’t change the default option.
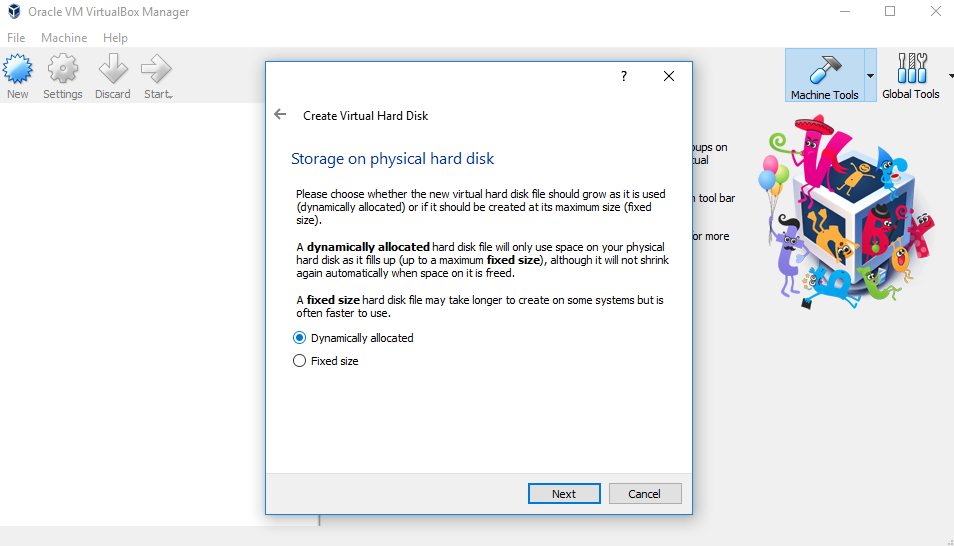
Choose parameters for the virtual hard drive. There are two options:
Dynamically allocated, which means that its size can be increased. This variant allows to spare space on the free hard drive of the host OS but it can lead to performance reduction.
Fixed size. It will instantly take all the set size but it leads to a bit higher performance.
specify the name and size of the hard drive (don’t create a disk with the default parameters, 10GB is a small size, set at least 50).
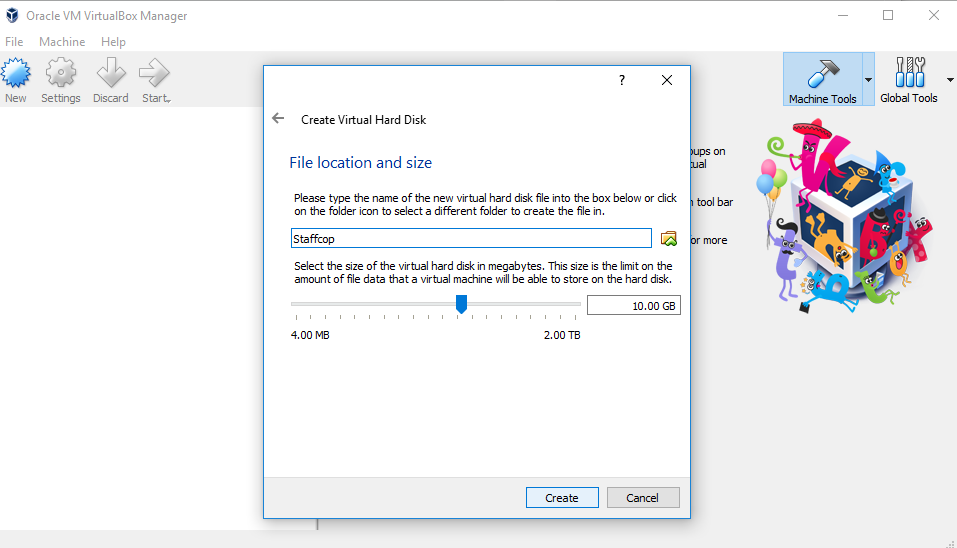
Click «Create».
The initial configuration is created.
Let’s correct it a bit. In the «Network» parameters change Type of connection from NAT to Bridged adapter.
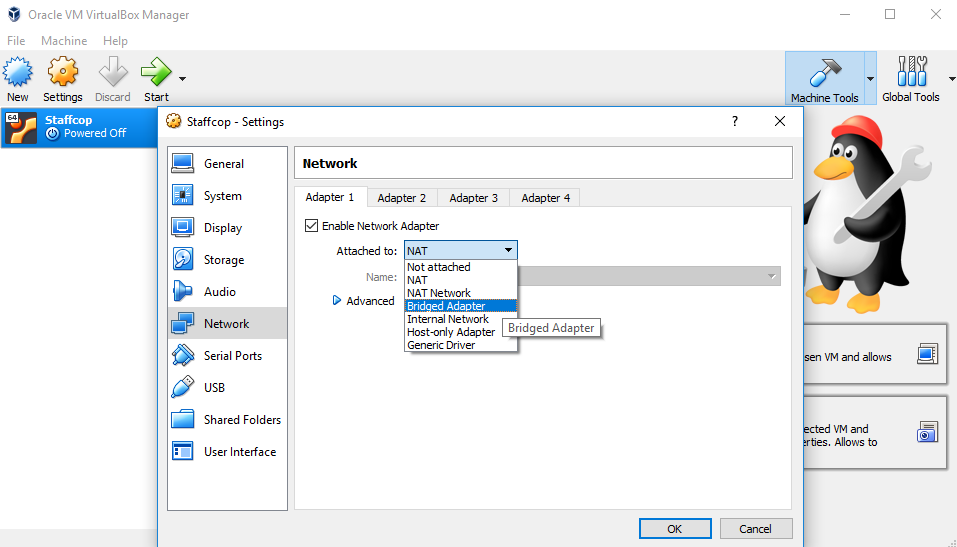
Click «Start»

Choose the boot image specifying path to the downloaded ISO-image:
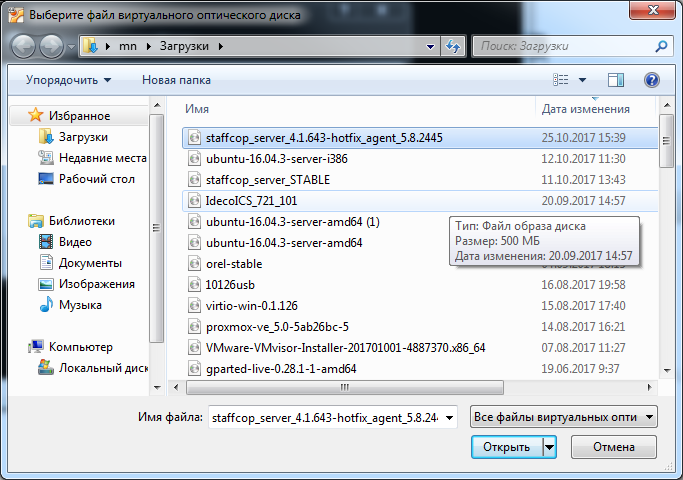
Click “Open”.
Go to OS installer.
Note
You should refer this article if you require your virtual machine automatically started after a reboot of the host OS.
Note
Avoid giving SSH-access to your server from outside your corporate network. In case of necessity, use key authentication and not commonly used ssh-port to decrease the chance of exposing your server.