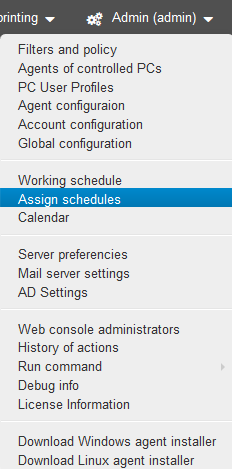
Assign schedules
Assign schedules is used for assigning working schedules to different groups of users. For example, you can assign schedule to a computer, department or agent label.
How to assign a work schedule
Open the schedule you want to assign.

You will see the page for assigning schedules.
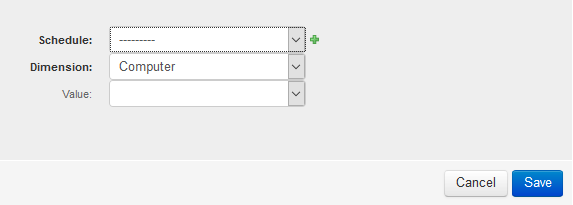
Schedule - select the schedule you want to assign. To create a new schedule, click the “green plus” button to the right.
Dimension - select the dimension used for choosing users the schedule will be assigned to.
Computer - assign schedule by computer name
Метка - Label - assign schedule by agent label (It is displayed in “Agents of controlled PCs”).
Office - makes changes to the schedule for the selected department.
Account - assign schedule for individual PC users.
User, full name - assigning schedule for user name, which is taken from the domain name.
Value - selection of users or user groups according to the selected dimension.
To save the created schedule, click “Save”. To cancel the changes, click “Cancel”.